
Forged Carbon Fiber Starter Kit


SKU:SK-CF003
Out of stock
Couldn't load pickup availability
This kit holds the chopped carbon and the epoxy for your first forged carbon part. Pack 1/2 in chopped carbon fiber into a mold, wet it out, and the cured part shows the marbled forged pattern. Chopped fiber has no weave to align or dart around a curve. It is sized for small parts: shift knobs, trim panels, badges, jewelry, scales and small covers.
In the box, and what you supply
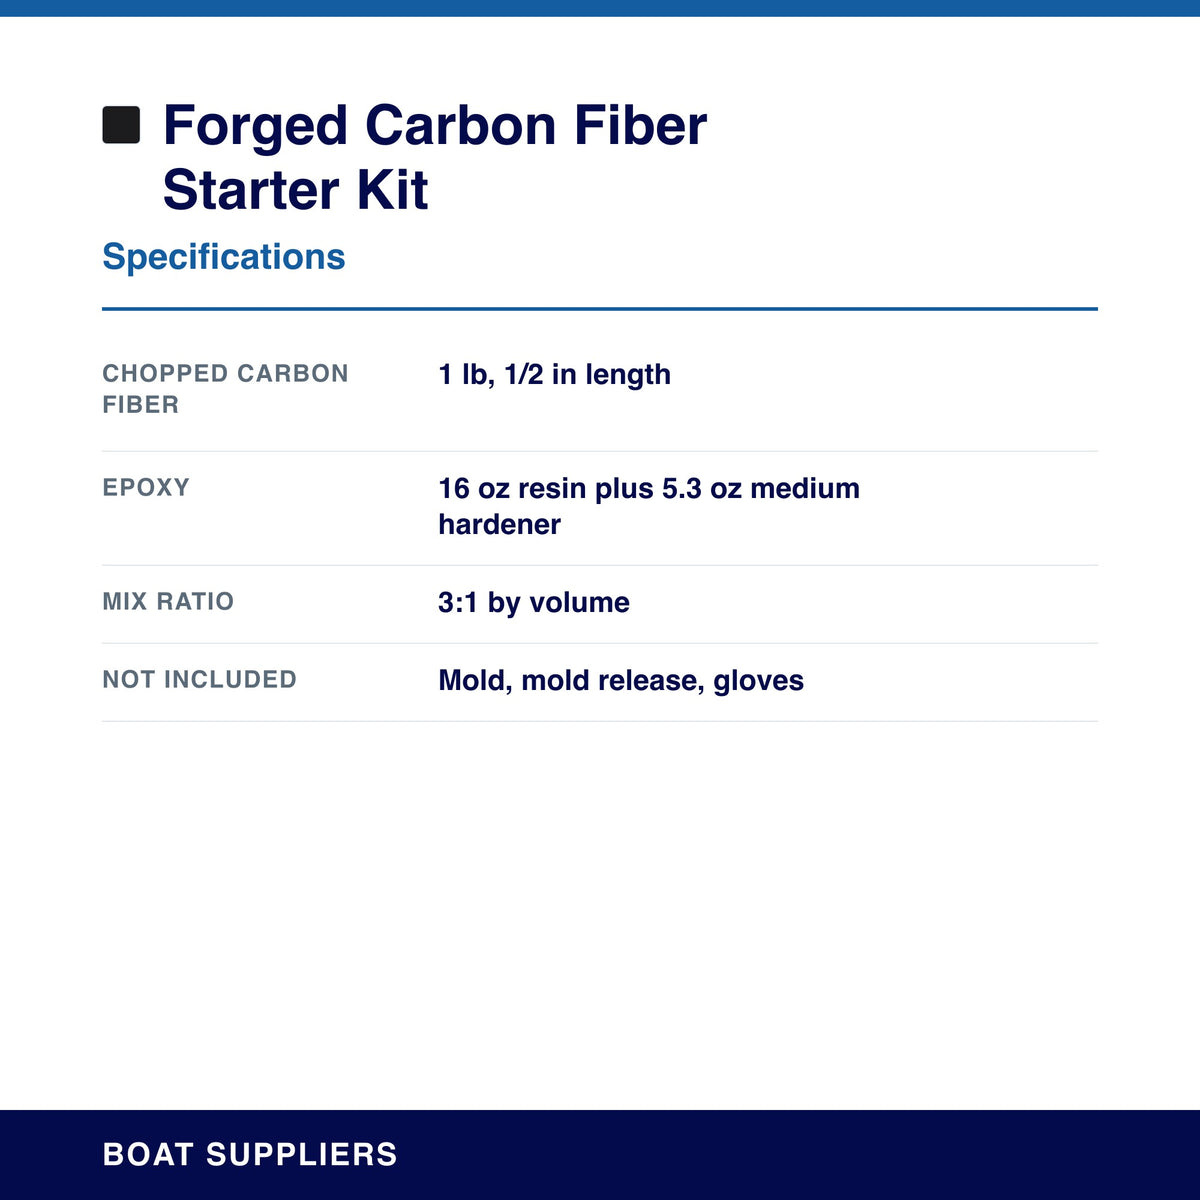
- 1 lb chopped carbon fiber, 1/2 in length
- Epoxy: 16 oz resin and 5.3 oz medium hardener (21.3 oz kit)
- Mix ratio: 3:1 by volume, so a small batch is 3 oz resin to 1 oz hardener
- You supply: the mold or the part being covered, mold release or PVA, mixing cups and sticks, gloves, a dust mask, and clamps or a vacuum bag if you have one
Getting a good pattern
Plan on about equal volumes of chopped fiber and mixed epoxy. A wetter mix flows into detail, and a drier one shows more fiber. No vacuum bag is needed. Hold the ratio by volume and confirm it on your hardener bottle, because off-ratio epoxy never fully cures. Mix only what the part needs, since a thick mass of epoxy builds heat. Carbon dust is conductive, so wear a dust mask and keep it away from electronics. Off the mold the part sands and polishes to a gloss, or takes a clear coat as it is.
Each component is also sold separately in larger sizes once you move past the starter quantity.
Specifications

How to use this kit
Chopped carbon and epoxy for marbled forged carbon parts.
What is in the kit
- 1 lb Chopped carbon fiber, 1/2 inthe marbled forged carbon look, no weave to line up
- 21.3 oz Two-part epoxy kit16 oz resin plus 5.3 oz hardener, 3:1 by volume
You supply: a mold or the part being covered, mold release or PVA, mixing cups and sticks, gloves, a dust mask, and clamps or a vacuum bag if you have one.
Mixing epoxy (3:1 by volume)
| Ratio | 3 parts resin to 1 part hardener |
| Small batch | 3 oz resin + 1 oz hardener |
| Full kit | 16 oz resin + 5.3 oz hardener |
Measure by volume. Off-ratio epoxy never fully cures. Confirm the ratio printed on your hardener bottle.
Forged carbon runs roughly equal parts chopped fiber to mixed epoxy by volume. Wetter flows into detail, drier shows more fiber.
The job, start to finish
Prep the mold
Forged carbon is molded, not laid up, so you need a mold or a part to press against. Wax and release it thoroughly, or use PVA. Anything you miss will bond permanently, and chopped carbon plus epoxy grips a mold hard.
Mix the epoxy
Mix 3 to 1 by volume, stirring 2 minutes and scraping the sides, then re-pot and stir again. Mix only what the part needs: a deep pot of epoxy heats up on its own and can smoke, and forged carbon parts are thick by nature.
Fold in the fiber
Add chopped carbon to the epoxy and fold until every fiber is wet and the mass looks like black modeling clay. Roughly equal parts by volume is the starting point. Wetter flows into detail; drier shows more fiber and less resin shine.
Pack the mold
Press the mixture into the mold in small handfuls, working it firmly into corners and detail so you do not leave voids. Overfill slightly, then clamp, press or bag it. Pressure is what gives forged carbon its density and the marbled look.
Demold and finish
Leave it a full 24 hours, longer if cool, before demolding. Sand through the grits, then clear coat: the marbled pattern only pops once there is gloss over it. Carbon has no UV resistance, so use a UV-stable clear.
If something goes wrong
Mix looks dry and crumbly
Not enough epoxy. Add a little at a time until every fiber is wet and it packs like clay.
Part stuck in the mold
Under-released. Wax several coats or use PVA over the wax.
It got hot and smoked
The pot was too deep. Mix smaller batches and pour promptly.
Voids at the edges
Not packed hard enough into detail. Work small handfuls into corners first.
Pattern looks flat and dull
It needs clear coat. Forged carbon only shows its marbling under gloss.
No mold, release or tools are included: this kit is the two materials. Cloth, release agents and clear coats are all at boatsuppliers.com.
Guides for this product

How to Make Carbon Fiber Parts from Scratch: ...
How to Make Carbon Fiber Parts from Scratch: ...

What's the Difference Between 2x2 Twill and P...
What's the Difference Between 2x2 Twill and P...
