How to Use Biaxial Fiberglass for Boat Repair: Fabric Selection and Layup Guide

08 April 2026
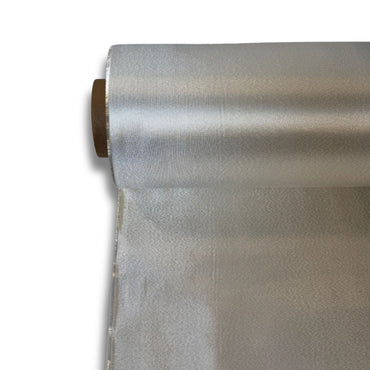
Biaxial fiberglass is the default structural fabric for serious boat repair. If you are rebuilding a transom, tabbing new stringers, reinforcing an impact zone, or replacing hull laminate, biaxial fiberglass outperforms woven roving and chopped strand mat in every load direction that matters. The problem most builders run into is not knowing which weight to reach for, how many layers to schedule, or why the mat-backed versions behave differently from pure biaxial cloth. This guide settles all of that.
How Biaxial Fiberglass Is Built and Why It Matters
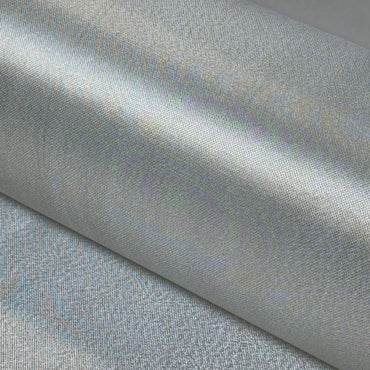
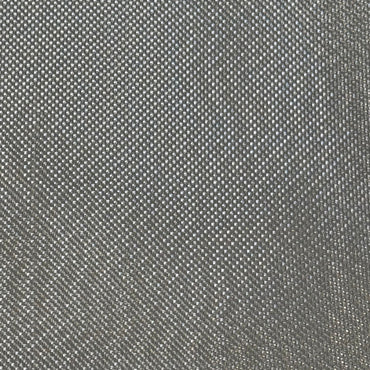
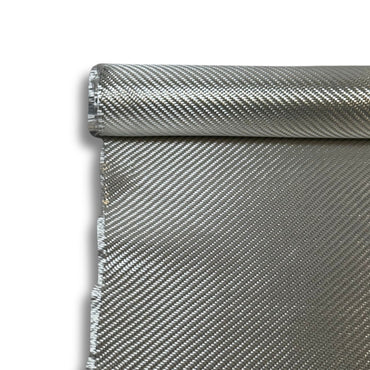
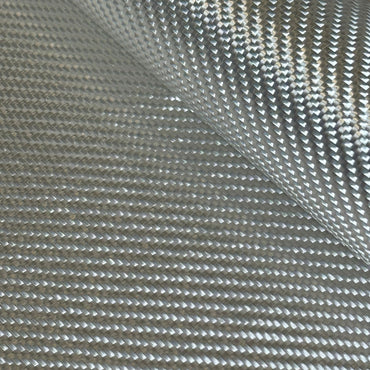
Biaxial fabric is not woven. It is stitched. Continuous glass fibers run at +45 degrees and -45 degrees and are locked together with a lightweight polyester stitch rather than being interlaced like a traditional woven cloth. That distinction has real consequences in a repair:
- No crimp, more strength: Woven fabrics bend each fiber over and under the crossing fibers, reducing tensile strength by 10 to 15 percent. Stitched biaxial fibers run straight, so they carry load at full efficiency.
- Shear and torsion resistance: The diagonal fiber orientation handles twisting and racking loads that straight 0/90 wovens handle poorly. That is exactly the load pattern a boat hull sees in rough water.
- Fast wet-out: The open stitch structure lets resin penetrate quickly and completely. You spend less time chasing dry spots and more time rolling out bubbles.
- Good drape: Biaxial fabric conforms around compound curves and tight radii without bunching, which matters on hull sides and at chine corners.
Some biaxial fabrics add a chopped strand mat (CSM) backing stitched to the back face. That mat layer builds thickness fast and creates a good secondary bond surface between plies. Whether you need the mat backing or not depends on your application, which is the first decision to make before cutting a single yard of cloth.
Choosing the Right Biaxial Weight for the Job
Weight is listed in ounces per square yard. Combined fabrics list both layers, for example 1708 is 17 oz biaxial plus 0.75 oz mat. Here is how to match weight to job:
12 oz Pure Biaxial: Detail Work and High-Performance Layups
1208 Biaxial Fiberglass runs 12 oz of continuous fibers at +45 and -45 degrees with no mat backing. It wets out fast, conforms easily to tight geometry, and gives you precise control over how much thickness you add per layer. Use it when you need to build a schedule layer by layer without the bulk of a mat backer, or when you are doing high-performance work where every ounce counts. It is also a good finishing layer over heavier base plies because it consolidates smoothly under a ribbed roller.
17 oz Pure Biaxial: Structural Versatility and Maximum Conformability
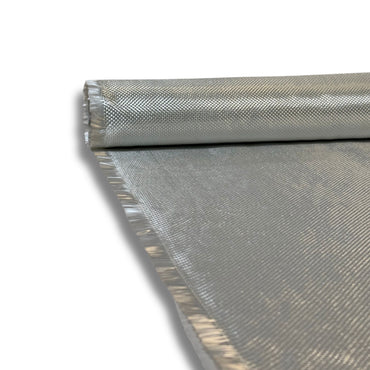
DB170 17oz Biaxial Fiberglass Cloth is 50 inches wide and comes without mat backing. At 17 oz it is a fully structural fabric that handles load-bearing repairs and drapes well enough for compound curves and tight geometry. Because there is no mat layer, you control resin uptake precisely and get a cleaner, lighter laminate in applications where you are building to a weight budget or where the mat-backed version adds more thickness than the schedule calls for. It is also a strong choice for gelcoat backing work and anywhere you want biaxial performance without the extra bulk the mat-backed versions add.
1708: The Workhorse for Transoms, Stringers, and General Repairs
1708 Biaxial Fiberglass is the most widely used repair fabric in the marine industry for a reason. The 17 oz biaxial layer carries the structural load while the 0.75 oz mat backing bonds aggressively to the previous ply and builds thickness at a rate you can feel in the layup. A typical transom rebuild runs 6 to 10 layers of 1708 over a plywood or structural foam core, depending on vessel size and original laminate spec. Each layer of 1708 adds roughly 0.040 to 0.050 inches of cured thickness, so 8 layers gets you close to 3/8 inch of solid laminate.
It is compatible with polyester, vinyl ester, and epoxy resins. Resin consumption runs approximately 1.0 to 1.2 oz of resin per square foot per layer at a standard 50/50 fiber-to-resin ratio by weight. Use the resin calculator to estimate total volume before you mix anything.
For tabbing work, seams, and corners where cutting full-width cloth is wasteful, 1708 Biaxial Fiberglass Tape is the same fabric pre-cut in 6-inch and 12-inch widths. The 6-inch tape is the standard for tabbing stringers to hull bottoms. The 12-inch tape works well on larger seams and bulkhead connections. Using pre-cut tape eliminates the fraying and inconsistent widths you get from cutting strips off a roll, which matters when you are working overhead or in a confined bilge.
1808: Maximum Strength in Impact Zones
1808 Biaxial Fiberglass steps up to 18 oz of biaxial cloth stitched at +45 and -45 degrees, with a 0.75 oz mat backing. The higher fiber weight per layer means more glass in every square foot of laminate, which translates directly to greater stiffness and impact resistance. That makes it the right choice for keel attachment areas, engine stringers, and any zone where you need maximum laminate density and strength. Layer for layer it builds slightly thicker than 1708 and requires a bit more roller work to consolidate fully, but the finished laminate is dense and stiff.
Fabric Selection Summary
| Fabric | Weight | Mat Backing | Best For |
|---|---|---|---|
| 1208 Biaxial | 12 oz | None | Detail work, finishing layers, performance builds |
| DB170 | 17 oz | None | Structural repairs, gelcoat backing, compound curves, weight-budget builds |
| 1708 Biaxial | 17 + 0.75 oz mat | Yes | Transoms, stringers, general structural repair |
| 1708 Tape | 17 + 0.75 oz mat | Yes | Tabbing stringers and bulkheads, seam work |
| 1808 Biaxial | 18 + 0.75 oz mat | Yes | Keel areas, engine stringers, high-density impact zones |
Products used in this guide
-

1708 Biaxial Fiberglass
Regular price From $12.95 USDSale price From $12.95 USD Regular priceUnit price $12.95 per yd -
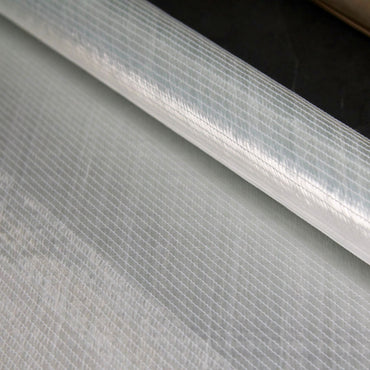
DB170 – 17oz Biaxial Fiberglass Cloth (No Mat)
Regular price From $14.45 USDSale price From $14.45 USD Regular priceUnit price $14.45 per yd -
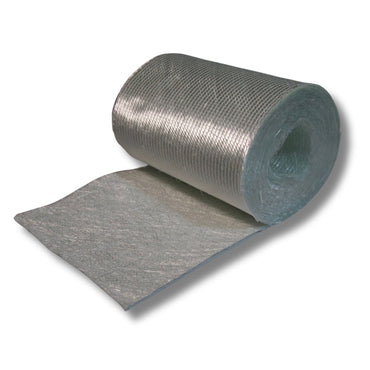
1708 Biaxial Fiberglass Tape
Regular price From $3.65 USDSale price From $3.65 USD Regular priceUnit price $4.95 per yd -
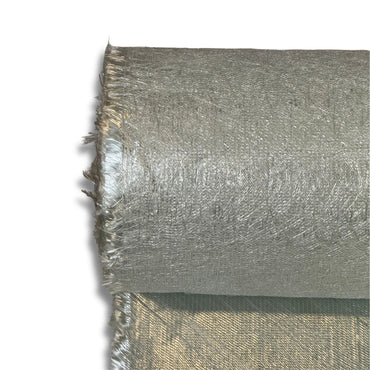
1208 Biaxial Fiberglass
Regular price From $16.45 USDSale price From $16.45 USD Regular priceUnit price $16.45 per yd

Tools and Materials to Have Ready
Do not start mixing resin until everything on this list is staged at the repair site:
- Biaxial fabric pre-cut to pattern (add 1 to 2 inches extra on all edges)
- Polyester, vinyl ester, or epoxy resin with appropriate hardener or catalyst
- Graduated mixing cups and stir sticks
- Acid brushes or chip brushes for wet-out
- Bubble roller (finned aluminum) and a ribbed consolidation roller
- Solvent appropriate to your resin system for cleanup
- 80 and 120 grit sandpaper for prep
- Nitrile gloves, eye protection, and a respirator rated for organic vapors
Step-by-Step Biaxial Layup for Structural Boat Repair
Step 1: Surface Preparation
Grind or sand the repair area with 80 grit to remove gelcoat, paint, and any loose or delaminated laminate. The surface needs to be mechanically abraded, not just scuffed. Feather the edges of any existing laminate at a ratio of at least 12:1 (12 inches of taper for every 1 inch of laminate depth). Wipe the area clean with solvent twice, letting the first pass flash off before the second, and do not touch the surface with bare hands after cleaning.
Step 2: Cut Your Fabric Schedule
Make paper templates for irregular shapes and transfer them to the fabric with a felt-tip marker. Cut with sharp scissors or a rotary cutter. For a standard structural repair, cut pieces in graduated sizes: the smallest piece goes on first and covers the deepest part of the repair, each subsequent layer extends past the previous one by 2 to 3 inches on all sides. This pyramid schedule distributes load across the transition zone and prevents a hard spot at the repair boundary.
If you are using 1708 Biaxial Fiberglass Tape for tabbing, pre-cut lengths and roll them up loosely so you can unroll them into position with one hand while holding the other steady.
Step 3: Mix and Apply Your First Coat of Resin
Mix resin according to the manufacturer's ratio for your system. For polyester resin with MEKP catalyst at 77 degrees F, a common starting point is 1.25 percent MEKP by volume, which works out to roughly 1.6 fl oz (47 cc) of MEKP per gallon of resin. Adjust up or down within the manufacturer's allowed range based on shop temperature and your working time needs. For vinyl ester resin, the same MEKP ratio applies as a starting point and gives you a harder, more water-resistant laminate that is worth the modest cost premium on any below-waterline repair. Brush or roll a thin wet coat onto the prepared surface before placing the first fabric layer. This base coat prevents dry areas under the first ply and improves initial adhesion. Do not flood the surface, you want saturation without pooling.
Step 4: Lay and Consolidate Each Layer
Place the first (smallest) layer of biaxial fiberglass fabric onto the wet resin and press it flat with a gloved hand. Apply resin over the top and work it through with a brush, moving from center outward. Follow immediately with a bubble roller, then a ribbed roller, pressing firmly to consolidate fibers and drive out trapped air. You should be able to see the fiber weave clearly through a properly wet-out layer. Opaque white areas mean dry glass that needs more resin. Pools of resin between the fabric and substrate mean too much, work it out with the roller.
Apply the next layer while the previous one is still tacky, within the resin's working time. Do not let layers cure hard between applications if you can avoid it. A green (gelled but not fully cured) surface bonds chemically to the next layer. A fully cured surface requires mechanical abrasion and creates a weaker secondary bond.
Step 5: Finishing the Layup
On the final layer, if you want a paintable surface, finish with a lighter fabric like 1208 Biaxial Fiberglass or apply peel ply over the wet laminate and peel it after cure. Peel ply leaves a slightly textured, resin-rich surface that is ready for fairing compound or another laminate layer without sanding.
Biaxial Fiberglass vs. Chopped Strand Mat: When to Use Each
This comes up constantly, so here is the direct answer:
Use biaxial fabric when: the repair is structural, the area carries load, you are working on a curved surface, or you want full thickness in fewer layers. Biaxial fiberglass gives you real mechanical strength that CSM cannot match.
Use chopped strand mat when: you are building up thickness in a low-stress zone, creating an adhesion layer between dissimilar laminates, or doing initial fairing that will be ground back anyway. CSM is isotropic (equal strength in all directions) but its strength level is much lower than biaxial.
In most structural boat repairs, the two are used together: CSM in the first layer to establish bond to the existing hull, then biaxial fiberglass for the structural build-up.
Curing, Trimming, and Finishing
Keep the shop temperature between 70 and 85 degrees F during cure. Below 60 degrees F, polyester and vinyl ester resins cure slowly and incompletely. Epoxy systems are more forgiving at lower temperatures but still benefit from warmth. Keep moisture off the wet laminate; humidity interferes with polyester cure in particular.
Handling strength arrives at 6 to 8 hours for most systems. Full mechanical cure takes 24 to 48 hours. Do not load the repair until full cure is achieved.
Trim excess cloth with a sharp utility knife or 4-inch grinder fitted with a cutting disc. Sand the repair area starting at 80 grit to knock down high spots, then progress through 120, 180, and 220 before applying fairing compound or primer.
Frequently Asked Questions
What does the 1708 in 1708 biaxial fiberglass actually mean?
1708 is 17 oz of biaxial glass fiber stitched at +45 and -45 degrees, backed with a 0.75 oz chopped strand mat. The biaxial layer carries the load and resists shear and twisting. The mat backing builds thickness fast and improves interlaminar bonding. It is the workhorse for transom and stringer repairs because it gives good build-up speed while still wetting out cleanly with polyester, vinyl ester, or epoxy.
Which biaxial weight should I use for a transom versus a structural repair?
Match weight to stress. For general structural repair and transom rebuilds, 1708 is the standard choice. For maximum strength and laminate density in high-stress and impact zones, step up to 1808 (18 oz biaxial with mat). For weight-budget builds, complex geometry, or anywhere you want full structural performance without the mat-backed bulk, DB170 (17 oz pure biaxial) is a strong option. On thick sections, lay heavier fabric like 1808 in the base layers and finish with lighter cloth.
When should I choose biaxial fiberglass over chopped strand mat?
Choose biaxial fiberglass when structural strength matters, the area sees high stress, you are working around curves and tight radii, or you want full build-up in fewer layers. Choose chopped strand mat when you need to build thickness fast in a low-stress zone, create a bonding layer for further reinforcement, or the repair area needs heavy filling and fairing afterward.
Do I have to wait for each biaxial layer to cure before adding the next?
No, and you should not. Apply subsequent layers while the previous one is still tacky, inside the resin's open time, so the layers chemically bond into one laminate. If layers cure fully between applications you get a weaker secondary bond and must sand between plies. Roll out air bubbles immediately after each layer, working from center outward with a bubble roller, because trapped air creates voids that weaken the finished laminate.
How much resin do I need for a biaxial layup?
Plan on roughly 1.0 to 1.2 oz of resin per square foot per layer of 1708 at a 50/50 fiber-to-resin ratio by weight. A 10-square-foot repair with 6 layers needs approximately 60 to 72 oz (roughly half a gallon) of mixed resin. Use the resin calculator before you commit to a batch size, because running short mid-layup forces a secondary bond seam you do not want.
What You Need For This Job
- 1708 Biaxial Fiberglass: structural build-up for transoms, stringers, and general hull repairs
- 1708 Biaxial Fiberglass Tape: pre-cut 6-inch and 12-inch strips for tabbing seams and corners
- 1808 Biaxial Fiberglass: maximum-strength base layers for impact zones and keel areas
- 1208 Biaxial Fiberglass: lighter finishing layer and high-performance detail work
- DB170 17oz Biaxial Fiberglass Cloth: pure biaxial without mat for structural repairs, compound curves, and weight-budget builds
- Vinyl Ester Resin: recommended laminating resin for below-waterline and structural biaxial layups
- Resin Calculator: estimate total resin volume before you mix so you do not run short mid-layup
Prev post

Next post

Microballoons vs Cabosil: Which Filler Do You Actually Need?
Updated on 08 April 2026