How to Repair Gelcoat: Step-by-Step Guide

28 February 2026
To repair gelcoat, clean the damage, sand and bevel it, fill it with gelcoat catalyzed at 1.5 to 2% MEKP, seal the surface so it cures, then wet sand and polish it flush. Most scratches, chips and cracks on a fiberglass boat can be fixed this way at home, start to finish, with the right materials.
What this repair needs
-
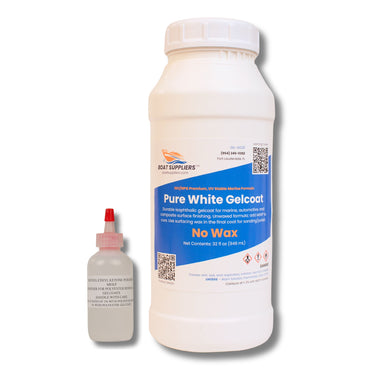


Pure White Gelcoat with Hardener - No Wax
Regular price From $39.95 USDSale price From $39.95 USD Regular priceUnit price $1.25 per floz -
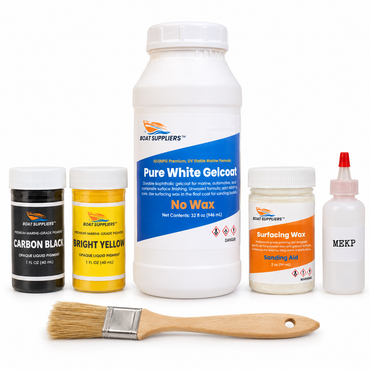
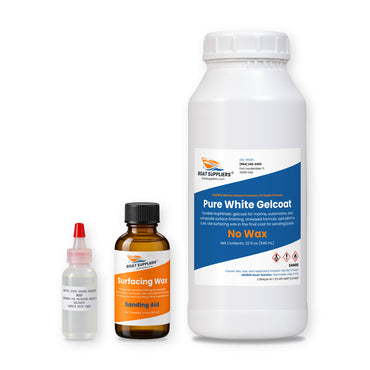
Gelcoat Repair Kit - Pure White Gelcoat, Surfacing Wax, Hardener & Tinting Pigments
Regular price From $64.95 USDSale price From $64.95 USD Regular priceUnit price per -
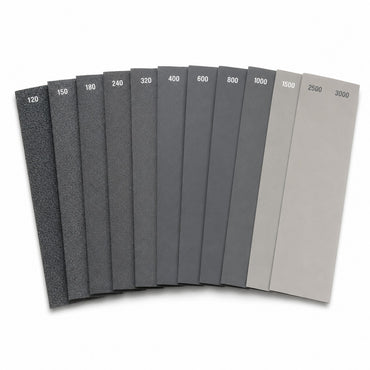

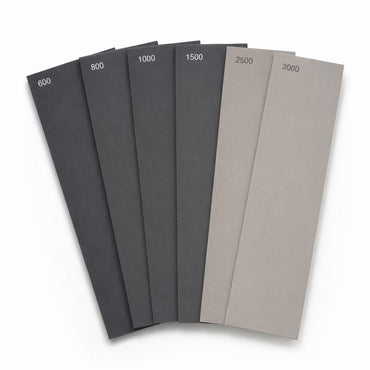
Wet & Dry Sandpaper Packs for Fiberglass, Gelcoat & Epoxy
Regular price From $7.95 USDSale price From $7.95 USD Regular priceUnit price per -


MEKP Hardener
Regular price From $4.95 USDSale price From $4.95 USD Regular priceUnit price per


Quick reference: how to repair gelcoat, the numbers for each step
| Step | What to do | Spec |
|---|---|---|
| Clean | Soap and water, then acetone wipe | No bond to dirty or waxy surfaces |
| Prep scratches and small chips | Sand, feather and bevel the edges | 80 grit |
| Prep deep gouges | Fill with thickened resin, then gelcoat | Sand exposed fiberglass to clean glass |
| Mix the gelcoat | Add MEKP, stir for 2 minutes | About 2% at 77°F (19 cc per quart) |
| Apply | Thin coats, slightly overfill | 10 to 15 mils per coat |
| Seal the surface | Plastic wrap, PVA or wax additive | Surface stays tacky without it |
| Cure | Wait 4 to 8 hours before sanding | Full cure 24 to 48 hours |
| Sand and level | Wet sand with a sanding block | 220 grit, then 400, 600, 800 |
| Polish | Wet sand, rubbing compound, polish, wax | 1000, 1500, 2000 grit |
MEKP dose is percent by volume, and cure times shift with shop temperature.
Figure out what kind of damage you have
The repair depends on how deep the damage goes:
- Surface scratches: marks that stay within the gelcoat layer
- Deep scratches: cuts that go all the way through the gelcoat to the glass
- Chips: gelcoat that has broken away
- Cracks: stress fractures in the gelcoat, often called spider cracks
- Gouges: damage that reaches into the fiberglass laminate itself
Light surface scratches will often buff out. Anything past that calls for a real gelcoat repair.
What you need
Repair materials
- A gelcoat repair kit, or gelcoat matched to the boat
- MEKP catalyst
- Wax additive, if your gelcoat is unwaxed
- Cups and sticks for mixing
- Masking tape
- Acetone for cleanup
Prep
- Coarse paper: 80 and 150 grit
- Leveling paper: 220, 400, 600 and 800 grit
- Polishing paper: 1000, 1500 and 2000 grit
- A sanding block
- Clean rags
Finishing
- Rubbing compound
- Polishing compound
- Marine wax
- A buffer or a polishing pad
Step 1: Clean it
- Wash the repair area with soap and water
- Wipe it down with acetone to strip wax and other contaminants
- Let it dry fully
Do not skip this: gelcoat will not stick to a surface that is dirty or waxed.
Step 2: Prep the damage
Scratches and small chips
- Rough up the damaged spot with 80 grit
- Feather the edges by sanding outward so the repair blends in gradually
- Put a slight bevel on the edges to give the gelcoat more to grip
- Wipe with acetone
Deeper damage
- Cut away anything loose or broken
- Where the glass shows, sand it back to clean fiberglass
- Fill deep gouges with thickened resin first, then put gelcoat over the top
Step 3: Catalyze the gelcoat
- Pour out the gelcoat you need and then some, since running short partway through is worse than wasting a little
- Add MEKP at 1.5 to 2% by volume
- If the gelcoat is unwaxed, add wax additive so the surface can cure
- Stir well for 2 minutes
Check the color first: try the match somewhere out of sight before you commit. Gelcoat often cures to a slightly different shade than it shows wet.
Step 4: Apply it
Small repairs
- Tape off around the damage
- Work the gelcoat in with a brush or spreader
- Leave it a little proud, since you will sand it flush
- Cover it with plastic wrap or PVA so the surface cures
Larger areas
- Go on in thin coats of 10 to 15 mils
- Let the first coat tack up before the second goes on
- Build until the repair stands just above the surrounding surface
Step 5: Let it cure
- Initial cure: 2 to 4 hours
- Ready to sand: 4 to 8 hours, with temperature setting the pace
- Fully cured: 24 to 48 hours
Wait until the gelcoat is completely hard before any sanding. Sand it early and it turns into a gummy mess.
Step 6: Level it
- Begin with 220 grit to bring the repair level with the surface around it
- Move up through 400, 600 and 800
- Keep the surface wet as you go
- Check often, and stop as soon as it is flat and smooth
Back the paper with a sanding block so you do not dig low spots.
Step 7: Bring back the shine
- Keep wet sanding at 1000, 1500 and 2000 grit
- Run rubbing compound with a buffer or by hand
- Follow up with polishing compound
- Seal it with marine wax
Done right, the repair is invisible or close to it.
When the repair goes wrong
The gelcoat stays soft
- Too little MEKP: brush more catalyzed gelcoat over it
- No wax additive: without it, air keeps the surface tacky
- Too cold: move the work somewhere warmer or put a heat lamp on it
Fish eyes or pinholes
- The surface was contaminated, so clean more thoroughly next time
- Fill them with another thin coat of gelcoat
The color does not match
- Matching color is hard, so think about redoing the whole panel
- Oxidized gelcoat reads lighter than new, so polish the surrounding area first
- Gelcoat suppliers offer professional color matching
Our take
Gelcoat work gets better with practice. Learn on small repairs in places nobody looks, and with patience and the right materials you will get professional results.
If the damage goes into the structure, the job moves past gelcoat. Our guide to fiberglassing over plywood covers bigger repairs, the resin per yard of fiberglass guide helps you plan the layup, and for custom shapes see how to make a fiberglass mold.
We stock gelcoat repair kits and tooling gelcoat, and the rest of your fiberglass supplies are at Boat Suppliers.
Frequently asked questions
How much MEKP do I add to gelcoat for a repair?
Catalyze gelcoat at 1.5 to 2 percent MEKP by volume, then stir thoroughly for about two minutes. Remember gelcoat takes the catalyst, not a hardener. Too little MEKP and the gelcoat will not kick; too much and it cures fast and brittle. Always mix more than you think you need so you do not run a batch short mid-repair.
Why does my gelcoat repair stay tacky and never fully cure?
A tacky surface usually means air-inhibited cure. Gelcoat will not harden on top while exposed to oxygen unless you add a wax additive to unwaxed gelcoat or seal the surface with PVA or plastic wrap. Other causes are not enough MEKP or a shop too cold. Brush on a fresh, properly catalyzed and waxed coat, or move the work somewhere warmer.
What sandpaper grit progression should I follow to polish gelcoat back to a shine?
After full cure, start at 220-grit to level the repair flush with the surrounding surface, then work through 400, 600, and 800 dry or wet. Switch to wet sanding for 1000, 1500, and 2000-grit. Follow with rubbing compound, then polishing compound, and finish with marine wax. Keep the surface wet through the fine grits and use a sanding block to avoid low spots.
How long do I wait before sanding fresh gelcoat?
Do not sand until the gelcoat is fully hard. Plan on an initial cure of 2 to 4 hours, sand-ready at 4 to 8 hours depending on shop temperature, and full cure at 24 to 48 hours. Sanding too early just loads your paper and leaves a gummy mess, so give it time, especially in cooler conditions.
Can I repair a deep gouge that has cut through to the fiberglass with gelcoat alone?
No. Gelcoat is a cosmetic surface coat, not a structural filler. For deep gouges that expose the laminate, sand back to clean glass, fill with thickened resin first, then topcoat with catalyzed gelcoat and finish flush. Gelcoat needs a clean, wax-free, slightly beveled surface to bond, so wipe with acetone before you patch.
Shop the materials from this article
- Partall Coverall Film, a PVA release.
- Aqua Buff 2000 polishing compound.
- white cotton rags, 2 lb bag.
- gelcoat repair kits that include pigments for color matching.
- pure white gelcoat with wax, a finish coat that cures tack-free in air.
Prev post

How Much Resin Per Yard of Fiberglass: Calculator Guide
Updated on 28 February 2026
Next post

MEKP Catalyst Guide: Mixing Ratios and Safety
Updated on 25 February 2026