Sanding and Fairing Techniques for Fiberglass Finishing

21 February 2026
To sand and fair fiberglass, knock the high spots off with 40 to 80 grit on a longboard, fill the lows with thin coats of fairing compound, level the compound at 80 to 120 grit, then climb through 220 to 400 grit before paint or gelcoat. The longboard and a guide coat make the panel fair; the grits only set the pace.
What fairing needs
-



Phenolic Microballoons
Regular price From $18.95 USDSale price From $18.95 USD Regular priceUnit price $18.95 per qt -
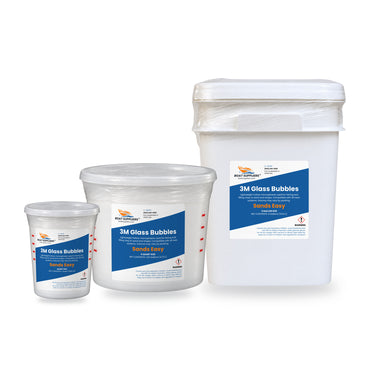

3M Glass Bubbles
Regular price From $9.95 USDSale price From $9.95 USD Regular priceUnit price $9.95 per qt -
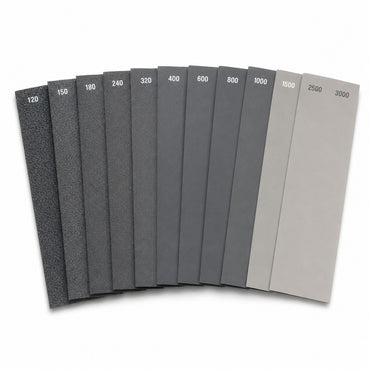
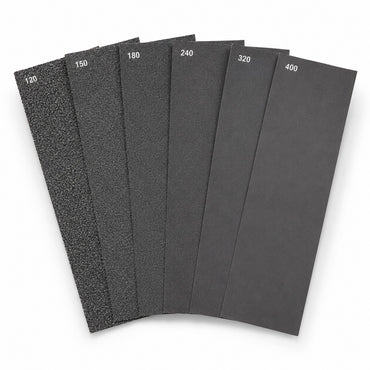
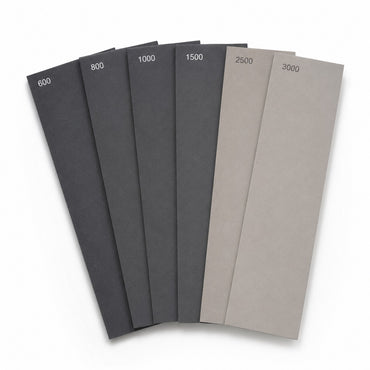
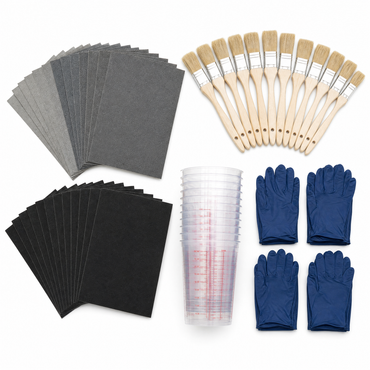
Wet & Dry Sandpaper Packs for Fiberglass, Gelcoat & Epoxy
Regular price From $7.95 USDSale price From $7.95 USD Regular priceUnit price per -

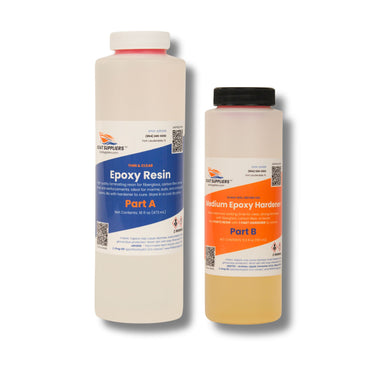


Boat Suppliers Epoxy Resin Kit – Thin, Clear, with Hardener
Regular price From $31.95 USDSale price From $31.95 USD Regular priceUnit price $1.46 per floz


Sanding and fairing fiberglass grit chart
| Step | Grit | How | Goal |
|---|---|---|---|
| Initial sanding | 40 to 80 grit | Longboard sanding block | Grind down high spots, seams, excess resin |
| Apply fairing compound | No sanding until fully cured | Spreader, thin layers | Fill low spots and imperfections |
| Level the fairing compound | 80 to 120 grit | Sanding block or DA sander | Level it; find lows with a guide coat |
| Final sanding | 220 to 400 grit | Step progressively to finer grits | Polished surface |
| Before paint or gelcoat | Up to 400 grit, wet | Wet sand, then remove all dust | Fewer scratches under the final coating |
Mix fairing compound to the manufacturer's ratio and let it cure fully before sanding.
Step 1: What to have on the bench
- Sandpaper, 40 to 400 grit. Coarse paper shapes, fine paper finishes.
- Longboard sanding block. It spans the lows and cuts only the highs, so the surface stays even.
- Orbital or DA sander. Takes the grind out of big areas.
- Fairing compound. The lightweight filler that hides surface imperfections.
- Spreader and trowel. To put the compound on.
- Acetone or a solvent cleaner. Lifts dust and residue between steps.
- Protective gear. Gloves, a respirator and goggles.
Step 2: Rough sanding and prep
- Take off the rough stuff. Go after resin buildup, seams and high spots with 40 to 80 grit paper.
- Keep it flat. Run the longboard so you never carve dips or waves into the panel.
- Wipe it down. Clear the dust with acetone or a solvent cleaner before any filler touches it.
Step 3: Putting on the fairing compound
- Mix to the label ratio. The manufacturer's ratio is what gives the right consistency. Blending your own putty from epoxy and filler? The epoxy filler consistency chart shows how much filler to stir in.
- Go on thin. Pull it across the low spots and flaws with a spreader, building in thin layers.
- Wait for a full cure. Follow the product instructions and keep paper off it until it has cured through.
Step 4: Shaping and leveling
- Level it at 80 to 120 grit. A block or the DA brings the fairing material down flush.
- Hunt for the lows. Sweep a flat hand across the panel, or put on a guide coat and see where it stays behind.
- Fill and sand again. Add compound wherever a low shows, cure, sand, and repeat until the panel is fair.
Step 5: Finish sanding
- Work through 220 to 400 grit. Step to each finer paper in turn until the surface comes up polished.
- Wet sand ahead of paint or gelcoat. Wet sanding the last grits leaves fewer scratches to show through the coating.
- Clean it and look it over. Every trace of dust comes off before the final coat goes down.
Where to go from here
Careful sanding and fairing gives a fiberglass finish that is tough and good looking, ready for paint or gelcoat. On bigger jobs the fairness starts in the laminate under the filler, so read how we approach glassing a hull for durability and how to wet out fiberglass cloth properly.
Fairing compounds, sanding tools and the rest of the marine finishing supplies for this work are at Boat Suppliers.
Frequently asked questions
What grit sequence should I follow when sanding and fairing fiberglass?
Start coarse and step finer. Use 40 to 80 grit to grind down high spots, seams, and excess resin during initial prep. After the fairing compound cures, level it at 80 to 120 grit with a block or DA sander. For the final finish move progressively through 220 to 400 grit, then wet sand if you are prepping for paint or gelcoat to knock down scratches.
Why should I use a longboard sanding block instead of just an orbital sander?
A longboard sanding block bridges across the surface and keeps it flat, so you avoid the dips and waves that a small pad can dish into a panel. Use the orbital or DA sander to move material fast on larger areas, but rely on the longboard for the leveling passes where fairness matters most. The two tools work together rather than replacing each other.
How do I find low spots before I keep sanding?
Run your bare hand over the surface to feel for dips, and use a guide coat to make them visible. A guide coat is a thin contrasting layer that sands away on the high spots and stays behind in the lows, showing exactly where more fairing compound is needed. Apply additional compound to those areas, sand again, and repeat until the surface reads true.
Do I need to apply fairing compound in one thick layer or several thin ones?
Apply it in thin layers with a spreader, working the compound over low spots and imperfections rather than burying everything in one heavy pass. Mix to the manufacturer's ratio for the right consistency and let each application fully cure before sanding. Building up in controlled layers is what gives you a level, professional surface and avoids trapped soft material underneath.
How do I prep the surface before applying gelcoat or paint?
Wet sand through the finer grits, up to 400, to take out coarse scratches, then clean thoroughly. Wipe the surface with acetone or a solvent cleaner to remove all sanding dust and residue, and inspect that it is completely clean and fair before you lay down the final coating. Skipping the dust removal is the fastest way to ruin an otherwise good finish.
Prev post

How to Choose Your Fiberglass Chop Mat Size
Updated on 21 February 2026
Next post

What Is Chopped Strand Mat? A Beginner's Guide to Fiberglass Mat
Updated on 21 February 2026