Chopped Strand Mat Layup: How Many Layers Do You Need for Professional Results

07 April 2026
Understanding Chopped Strand Mat Layers for Marine Projects
When it comes to fiberglass work on boats, determining the right number of chopped strand mat layers is crucial for achieving both structural integrity and a professional finish. Whether you're patching a hull, reinforcing a deck, or building custom components, the thickness and number of CSM layers will make or break your project's durability.
Chopped strand mat (CSM) serves as the backbone of many marine composite repairs, providing excellent conformability to complex curves while building thickness efficiently. But how do you know when you have enough layers? The answer depends on your specific application, the forces your repair will face, and the original construction thickness you're trying to match.
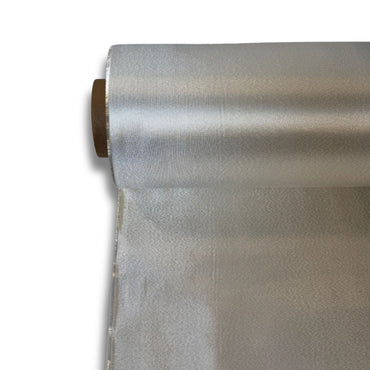
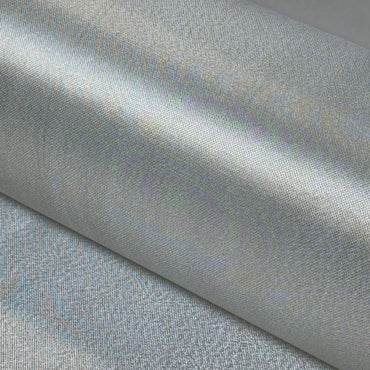
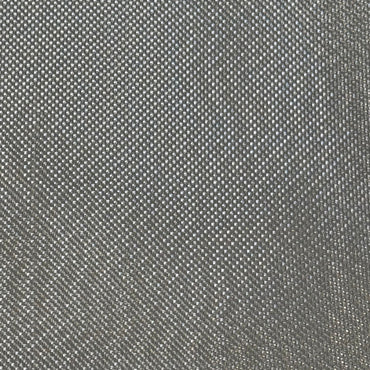
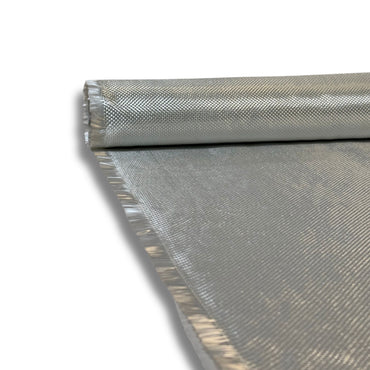
The mat weights in this guide
Everything below is in stock and ships from our Florida shop.


CSM Thickness Per Layer: The Foundation of Your Layup Schedule
Understanding csm thickness per layer is essential for planning your project. Different weights of chopped strand mat will give you varying thicknesses when properly wetted out with resin:
Our 0.75oz Fiberglass Chopped Strand Mat typically yields approximately 0.010-0.012 inches per layer when fully saturated. This lightweight option excels in applications where flexibility is paramount, such as curved hull sections or areas requiring multiple compound bends.
The popular 1.5oz Fiberglass Chopped Strand Mat produces roughly 0.018-0.022 inches per layer. This medium-weight mat strikes an excellent balance between buildable thickness and workability, making it ideal for most general marine repairs and structural work.
For heavy-duty applications, 2oz Fiberglass Chopped Strand Mat delivers approximately 0.025-0.030 inches per layer. While requiring more skill to wet out properly, this heavyweight option minimizes the total number of layers needed for thick repairs.
Creating Your Fiberglass Mat Layup Schedule
A proper fiberglass mat layup schedule considers not just thickness, but also cure times, temperature, and working windows. Here's how to plan your layers strategically:
Small Repair Patches (Under 6 inches)
For minor gelcoat crazing or small impact damage, 2-3 layers of 1.5 oz chopped strand mat typically suffices. Start with a base layer that extends well beyond the damage, then progressively smaller layers that feather the edges. This creates a smooth transition that's easier to fair and finish.
Medium Structural Repairs (6-24 inches)
Larger areas requiring structural integrity need 4-6 layers minimum. Begin with your largest layer using heavier mat weight, then alternate between medium and light weights. This technique, called "pyramiding," creates maximum strength at the center while maintaining smooth edges.
Major Hull Repairs (Over 24 inches)
Extensive damage may require 6-10+ layers, depending on the original laminate thickness. For these repairs, measure the original hull thickness with calipers and plan your layup to match. Remember that CSM typically compresses during cure, so plan for 10-15% shrinkage in your calculations.
Layer Sequencing for Optimal Results
The order of your chopped strand mat layers significantly impacts final strength and appearance. Professional boat builders follow these proven sequencing rules:
Always start heavy, finish light: Begin with your heaviest mat weight for structural foundation, then transition to lighter weights for surface smoothness. This prevents print-through and creates better fairing surfaces.
Overlap edges by 1-2 inches: Each successive layer should overlap the previous one to eliminate weak spots. Stagger these overlaps to prevent thickness buildups that create hard spots in the finished repair.
Allow partial cure between layers: Wait until each layer reaches a "tacky" state before applying the next. This prevents delamination while maintaining good interlaminar bonding.
Special Considerations for Marine Environments
Boat repairs face unique challenges that land-based fiberglass work doesn't encounter. Salt water, UV exposure, and constant flex cycles demand careful attention to layer count and material selection.
For repairs below the waterline, always use one additional layer beyond your calculated requirement. The constant moisture exposure creates higher stress concentrations that can propagate cracks through insufficient laminate thickness.
Areas subject to high flex, such as hull-to-deck joints or around through-hulls, benefit from using 1.5oz mat tape as reinforcing strips between full layers. This targeted reinforcement prevents stress concentration without adding unnecessary weight.
Quality Control During Layup
Monitoring your work throughout the layup process ensures professional results:
Check for air voids: Use a grooved roller to eliminate bubbles between layers. Air pockets create weak spots that can lead to premature failure.
Maintain resin-to-glass ratio: Too much resin creates heavy, weak laminates. Too little leaves dry spots that won't bond properly. Aim for complete saturation with minimal excess, and consider the specific requirements of polyester resin for boats when selecting your matrix material.
Monitor working time: Don't rush, but don't dawdle either. Each layer should be applied while the previous one is still chemically active for optimal bonding.
Troubleshooting Common Layer Issues
Even experienced builders encounter problems during layup. Here are solutions for the most common issues:
Print-through: If the mat pattern shows through your gelcoat, you started with too heavy a first layer. Sand smooth and apply 1-2 layers of lighter mat to create a better surface.
Delamination: Layers separating usually indicates contamination or waiting too long between applications. Cut out the affected area and start over with proper surface prep.
Thickness variations: Uneven builds typically result from inconsistent resin application. Use a graduated thickness gauge to monitor progress and add material where needed.
Conclusion: Building Confidence in Your Layup Schedule
Mastering chopped strand mat layers requires understanding both the science and art of composite construction. By carefully planning your layup schedule, selecting appropriate mat weights, and following proven sequencing techniques, you'll achieve repairs that match or exceed original equipment durability.
Remember that every boat and every repair is unique. Start with these guidelines, but don't hesitate to adjust based on your specific circumstances. When deciding between different reinforcement materials, consider the benefits of chopped strand mat vs woven roving for your particular application. With quality materials and proper technique, your fiberglass repairs will provide years of reliable service on the water.
Frequently asked questions
How many layers of chopped strand mat do I need for a hull repair?
It scales with the damage. A small patch under 6 inches usually takes 2 to 3 layers of 1.5oz mat. A medium structural repair from 6 to 24 inches wants 4 to 6 layers minimum. Major hull damage over 24 inches can run 6 to 10 or more layers, depending on the original laminate. For the big ones, measure the original hull thickness with calipers and build your layup to match it.
How thick is one layer of chopped strand mat once it is wetted out?
It depends on the mat weight. A 0.75oz mat yields roughly 0.010 to 0.012 inches per layer fully saturated and is best where you need flexibility around compound curves. A 1.5oz mat builds about 0.018 to 0.022 inches per layer and is the workhorse for most repairs. A 2oz mat gives roughly 0.025 to 0.030 inches per layer and minimizes layer count, though it takes more skill to wet out properly.
Do I need extra chopped strand mat layers below the waterline?
Yes. For any repair below the waterline, add one layer beyond your calculated requirement. Constant moisture exposure creates higher stress concentrations that can propagate cracks through laminate that is even slightly thin. High-flex areas like hull-to-deck joints and the zones around through-hulls also benefit from 1.5oz mat tape worked in as reinforcing strips between full layers, which targets the stress without piling on unnecessary weight.
In what order should I stack chopped strand mat layers for a clean finish?
Start heavy and finish light. Lay your heaviest mat first for the structural foundation, then step down to lighter weights so the surface fairs smoothly and resists print-through. Overlap each layer over the previous one by 1 to 2 inches to kill weak spots, and stagger those overlaps so you do not stack hard spots. Let each layer reach a tacky partial cure before the next for good interlaminar bonding without delamination.
Why is mat showing through my gelcoat, and how do I fix print-through?
Print-through usually means you started with too heavy a first layer, so the coarse mat pattern telegraphs to the surface. Sand the area smooth, then apply 1 to 2 layers of lighter mat to build a finer surface before refinishing. Going forward, keep the heavy mat for the foundation and reserve lighter weights for the outer layers. Also keep your resin-to-glass ratio in check, since resin-rich builds compound surface and strength problems.
Prev post

Microballoon vs Cabosil Fillers: Which One for Your Project?
Updated on 08 April 2026
Next post

Carbon Fiber Weave Patterns Explained: Plain, Twill, and Unidirectional for Marine Applications
Updated on 07 April 2026