How to Wet Out Fiberglass Cloth Perfectly Every Time

05 April 2026
Fiberglass cloth is fully wet out when the whole weave has turned translucent and no resin is sitting in puddles on top. You get there by rolling catalyzed resin thinly over the prepped surface, setting the dry cloth into it, working resin in from the middle toward the edges, and consolidating the ply with a serrated roller before the batch gels.
That technique only pays off if two calls are made before anything gets mixed: the cloth weight that suits the job, and how much resin that weight will drink. Settle both and the layup itself is routine. Miss either one and you spend the session fighting dry patches, resin-rich spots, or fabric that refuses to follow the shape.
Match the Cloth Weight to the Job
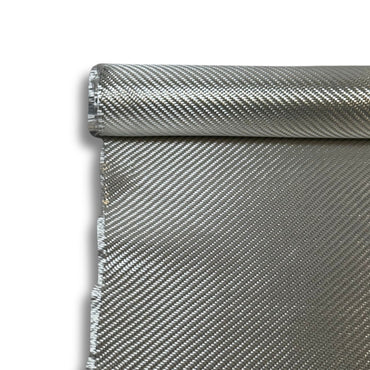
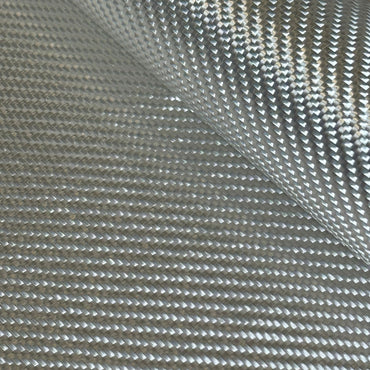
Weight sets nearly everything that follows: the resin demand, the number of plies in the schedule, how well the fabric drapes, and the thickness each ply adds. The fiberglass cloth weight chart lists the whole range. These are the weights we reach for most on marine work.
3 oz Cloth for Finish Plies and Fine Detail
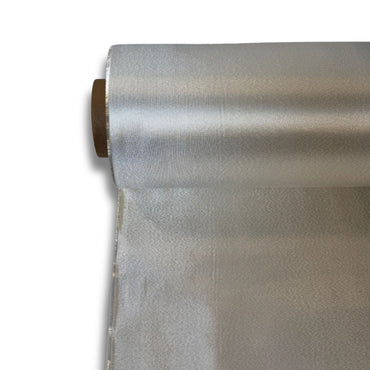
Among the woven fabrics that show up in a normal laminate schedule, no production style is lighter than 3oz fiberglass E cloth. It follows tight radii instead of spanning them, soaks up resin almost on contact, and sands without a fight. Use it as the top ply over heavier structural cloth when you want a fairer surface, or on its own for thin skins and cosmetic repairs. Each ply cures to roughly 0.005 in. and takes around 0.37 oz of resin on each sq ft.
10 oz Cloth, the Everyday Marine Weight
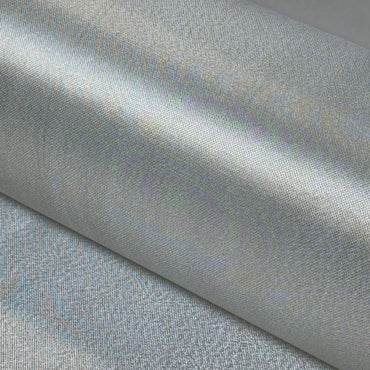
Most marine repair and moderate structural work gets done with 10oz fiberglass E cloth. The plain weave drapes well enough for most shapes, wets out cleanly in one pass, and adds about 0.015 in. per ply. Budget about 1.22 oz of resin for each sq ft of each layer as a starting figure, then refine it in the resin calculator. Tabbing, hull patches, and single-skin work that is not chasing extreme thickness or a tight weight budget all fall in its range.
12 oz Unidirectional Tape for One-Axis Stiffness
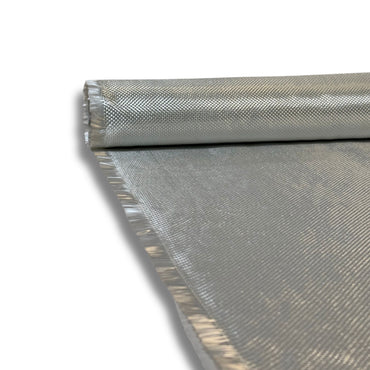
When a spar, a stringer, or the flange of a beam needs stiffness along a single axis, lay 12oz warp unidirectional fiberglass tape. Most of its E-glass runs in the 0-degree warp direction, and a light fill yarn at 90 degrees does nothing more than hold the bundle together, so nearly all the tensile strength follows the length of the tape. It will not stand in for woven cloth in a general laminate. It earns its spot when you want stiffness without carrying weight in both directions. Use the same technique as on woven cloth. With so little fill yarn in the way, resin gets through it even faster.
18 oz Cloth for Heavy Structural Build
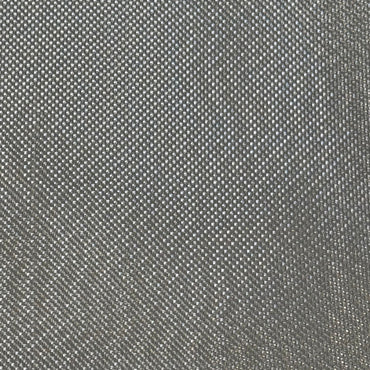
A heavy plain weave, 18oz fiberglass E cloth puts on thickness in a hurry: roughly 0.021 in. of cured laminate per ply, and it drinks about 2.2 oz of resin per sq ft for each layer. It belongs on structural hull sections, keel areas, and any spot where several plies have to go down quickly. What you give up is drape. Cloth this heavy is stiff, and it will bridge a tight curve, so on compound shapes switch to 10oz or 3oz cloth and add plies to make up the thickness.
40 oz Cloth for Maximum Build Rate on Flat Work
40oz fiberglass E cloth is a tool for experienced fabricators on thick panels that are flat or only gently curved, jobs where getting plies down fast matters more than drape. It will not follow tight geometry. Expect several resin passes and a deliberate rolling sequence to wet it out, and figure each layer will take about 4.9 oz of resin per sq ft. Before mixing a single batch for a 40 oz layup, check the quantities in the resin calculator.
Resin, MEKP, and Pot Life
A promoted polyester laminating resin is the usual pick for new construction and for general repair on polyester substrates. Move to vinyl ester when the laminate needs to stick better, resist blistering better, and carry higher interlaminar shear, which typically means structural repairs or laminates that live in the water. Choose a marine epoxy system when the cured substrate will not take polyester, or when you want the best mechanical properties from a light, stiff laminate.
Whatever is in the can, write two numbers down before you mix: the catalyst or hardener ratio, and the pot life.
- Polyester with MEKP: at 70°F, use 1.25 to 1.75 percent MEKP, measured by volume. For one quart (32 fl oz) of resin, that works out to 0.4 to 0.56 fl oz of MEKP, which is roughly 12 to 17 cc. Plan on roughly 15 to 25 minutes of working pot life and a gel somewhere between 25 and 40 minutes, depending on the formulation. Stay at or under 2 percent. Extra MEKP cuts pot life without giving you a better cure, and in a big batch it raises the odds of a runaway exotherm.
- Vinyl ester with MEKP: dose it the same way as polyester, but check the product's technical data sheet for its promoted ratio first. Some vinyl esters are sold unpromoted; with those, you add the cobalt yourself.
- Marine epoxy: follow the maker's ratio, measured by volume or weight. Most systems mix resin to hardener at 2:1 or 3:1, and pot life swings widely. With a standard hardener at 72°F, expect about 20 to 30 minutes of life in the cup before the mix must be spread, while a slow hardener stretches that to 40 to 60 minutes. Go with slow hardener for big panels or for several plies in one session.
Mix only what you can use. On polyester, 2 quarts is a practical batch for most patch jobs. On epoxy, check the pot-life chart against the day's shop temperature and size the batch to it before you start.
The Wet-Out, Step by Step
Step 1: Prep the Surface
Strip off wax, contamination, and anything loose. Take glossy areas down with 80 grit. Where new glass meets old laminate, feather that laminate's edges back. Wipe it down with solvent and give the solvent time to flash off completely before resin goes anywhere near it. In repair work, a dirty surface causes more delamination than anything else we see.
Step 2: Cut and Dry-Fit
Cut every piece 2 to 3 inches oversize on all edges, and do the cutting before any resin is mixed. Dry-fit the pieces, check that each one lies flat, and number them when the schedule has several layers. Sharp scissors or a rotary cutter kept only for glass will leave clean edges. Frayed edges tend to lift as resin goes on and hold air underneath.
Step 3: Coat the Substrate First
Brush or roll a thin layer of catalyzed resin onto the prepped surface before the cloth goes down. Without it, dry cloth pulls resin out of the bond line and leaves the joint starved. Let that base coat go slightly tacky before placing the cloth; on vertical surfaces it makes the biggest difference.
Step 4: Set the Cloth and Work Resin In
Press the dry cloth down onto the base coat once it is tacky. Begin in the middle and work outward so air gets pushed off the edges rather than trapped. Stipple resin down through the weave with a bristle brush, then pull a squeegee across the surface to spread it and keep the total volume under control. The brush gets resin into the fibers and the squeegee evens it out. You need both tools in hand.
On most structural marine patches, 10oz cloth gives the best balance of wet-out speed, conformability, and cured strength. When the goal is building thickness fast on a flat panel, move up to 18oz cloth.
Step 5: Read the Cloth
Glass that is fully wet out goes translucent, and anything still white or opaque is dry. Stipple more resin into those spots instead of dragging the brush, since dragging can pull the weave out of line. Keep an eye out for the opposite problem at the same time. Resin puddled on the surface is surplus that adds nothing to the laminate, so squeegee it away before it gels. Left in place it cures into a heavy, brittle zone that is weaker than a correctly wet laminate.
Step 6: Roll Out the Air
With the ply fully wet out, run a serrated fiberglass roller over the whole surface in an orderly pattern. Its ridges force trapped air up and press the cloth tight against the substrate and against the plies underneath. Overlap each pass, because random strokes miss spots. You cannot see an air void once the laminate cures, but it turns into delamination as soon as the part takes load.
Step 7: Stack the Next Ply While It Is Tacky
On a multi-ply schedule, lay each new layer while the one beneath it is still tacky instead of waiting for full cure. A tacky surface gives you a true interlaminar bond. A cured one has to be sanded and recoated first, which costs time and can leave a bond plane. This timing matters most with 18 oz and 40 oz cloth, which you will almost never lay as a single ply.
How Much Resin Each Cloth Weight Takes
Treat the numbers in the table as working estimates. Real consumption moves with the application method, the temperature, and how porous the surface is, so check the resin calculator before batching a large quantity. For hand lamination, roughly 50:50 fiber to resin by weight is a sensible target. Push past 60 percent resin by weight and the laminate turns heavy and brittle. Drop under 40 percent resin and you risk dry fiber and weak interlaminar shear. For ply counts by target thickness, see the fiberglass laminate thickness chart.
| Cloth Weight | Resin (oz per sq ft per ply) | Approx Cured Thickness (in.) | Recommended Use Case |
|---|---|---|---|
| 3oz Fiberglass E Cloth | ~0.37 oz | ~0.005 | Finishing layer, cosmetic repairs, tight radii |
| 10oz Fiberglass E Cloth | ~1.22 oz | ~0.015 | General marine repair, tabbing, hull patches |
| 18oz Fiberglass E Cloth | ~2.2 oz | ~0.021 | Structural build-up on flat or gently curved sections |
| 40oz Fiberglass E Cloth | ~4.9 oz | ~0.046 | Maximum build rate on flat panels, experienced fabricators only |
Wet-Out Mistakes We See Most
Doing a Big Panel in One Go
Speed is not the goal here. Break large panels into sections of 4 to 6 square feet. Try to wet out a whole hull panel at once and the resin starts to gel before you reach the far side, which leaves you laying fresh resin over a partly cured surface and building in bond planes.
Laminating in the Wrong Temperature or Humidity
Aim for 65 to 75°F and relative humidity under 60 percent whenever you can. Heat cuts pot life and leaves less time to debulk. Cold buys pot life but slows the cure, and it can keep the resin from crosslinking fully. High humidity brings on blushing in polyester and can hurt adhesion in epoxy. If the shop runs hot and you cannot change that, keep polyester near the low MEKP dose or put epoxy on a slow hardener, and cut your batch size to suit. A cold shop calls for the opposite: the high MEKP dose on polyester, or a fast hardener on epoxy.
Forcing One Heavy Ply Around a Curve
Heavy cloth spans a tight curve instead of following it. On compound geometry, swap a single layer of 18 oz for two or three layers of 10oz cloth, or for several layers of 3oz cloth. The structural result is as good or better, consolidation improves, and bridging voids mostly disappear. The lighter plies also let you lay each one while the previous ply is tacky, which gives a stronger interlaminar bond.
Skipping the Last Look
Before the resin gels, walk the whole laminate one more time with a light held low and off to the side. You are hunting for three things: white patches, cloth edges that have lifted, and surface bubbles. Fix each one while the pot life lasts. At this stage a fix takes about 30 seconds. After cure, the same flaw means grinding it out, laminating again, and fairing.
Frequently Asked Questions
How do I know when fiberglass cloth is fully wet out?
Properly wet-out cloth turns translucent with no white or dry patches. White spots are dry fibers that still need resin, so work more in with a stippling motion. At the same time, avoid over-saturating: pooling resin cures heavy and weak. Aim for full saturation of the weave with no excess sitting on the surface. The finished laminate should look uniform before full cure.
Should I wet the surface first or lay the dry cloth down first?
Apply a thin base coat of resin to the prepared substrate first, then lay the dry cloth into it. The base coat keeps the cloth from drinking up too much resin at once and improves the bond. Work from the center outward with a brush or squeegee, driving resin up through the fibers and smoothing out wrinkles as you go.
What catalyst percentage should I use for polyester resin?
At 70 degrees F, start with 1.25 to 1.75 percent MEKP by volume. That gives you a working pot life of roughly 15 to 25 minutes. Increase toward the high end in cooler conditions, drop toward the low end when the shop is warm or humidity is high. Never exceed 2 percent MEKP; higher doses risk exotherm in large batches and do not improve the finished laminate.
What is the correct temperature and humidity for wetting out fiberglass?
Target 65 to 75 degrees F with relative humidity below 60 percent. High humidity can cause blushing in polyester resins, and temperature extremes change working time and cure quality. Heat shortens your open time, cold stretches pot life but slows the cure. Plan your layup sequence so you are not fighting conditions mid-job.
How do I remove air bubbles during wet-out?
Use a serrated or grooved fiberglass roller. Work it systematically over the whole panel in overlapping passes rather than chasing individual bubbles. The roller drives air to the surface, presses cloth into contact with the substrate, and levels resin distribution. Address bubbles while resin is still workable. Trapped air becomes voids that concentrate stress and cause delamination.
Is it better to use one heavy cloth or several lighter layers on a curved repair?
On complex shapes or tight curves, run multiple layers of lighter cloth rather than one heavy layer. Lighter cloth wets out more easily and drapes into the geometry instead of bridging. Apply each layer while the previous one is still tacky so they consolidate into one cohesive laminate rather than bonded-but-separate plies.
Gear to Have on the Bench
- 3oz fiberglass E cloth: a light finish ply that follows tight curves.
- 10oz fiberglass E cloth: our structural default on most marine repair jobs and laminate schedules.
- 12oz warp unidirectional tape: one-direction reinforcement along stringers, beams, and other load paths.
- 18oz fiberglass E cloth: quick thickness on flat or gently curved structural areas.
- 40oz fiberglass E cloth: the fastest build rate on flat panels when layup speed comes first.
- Marine laminating resins: polyester, vinyl ester, or epoxy to suit the substrate and the service conditions. Measure out the MEKP or hardener before the cloth goes down.
- Serrated rollers and chip brushes: the roller pushes out air and consolidates the plies, and chip brushes stipple resin into places a squeegee cannot get to.
- Mixing cups, stir sticks, and graduated syringes: catalyst has to be measured, because a mix that is off ratio changes the mechanical properties of the cured laminate.
- Resin calculator: check the total resin and batch sizes before mixing, above all on 18 oz and 40 oz layups, where an oversized batch can run away on exotherm.
Prev post

Chopped Strand Mat vs Woven Roving: When to Use Each in Marine Fiberglass Work
Updated on 06 April 2026
Next post

How to Make Carbon Fiber Parts from Scratch: Complete DIY Guide for Marine Applications
Updated on 05 April 2026