

Fiberglass Mold Making Kit - Small Parts, Tooling Gelcoat + Isophthalic Resin
Fiberglass Mold Making Kit - Small Parts, Tooling Gelcoat + Isophthalic Resin
Share
SKU:SK-MMF001-BK
Hurry, only 6 left in stock
Couldn't load pickup availability
The smallest complete path from a part you own to a rigid fiberglass mold you can pull copies from. Tooling gelcoat for the mold face, isophthalic tooling resin for the backup laminate, both release agents, the glass, and the roller and wedges that actually get the mold off the plug.
What is in the kit
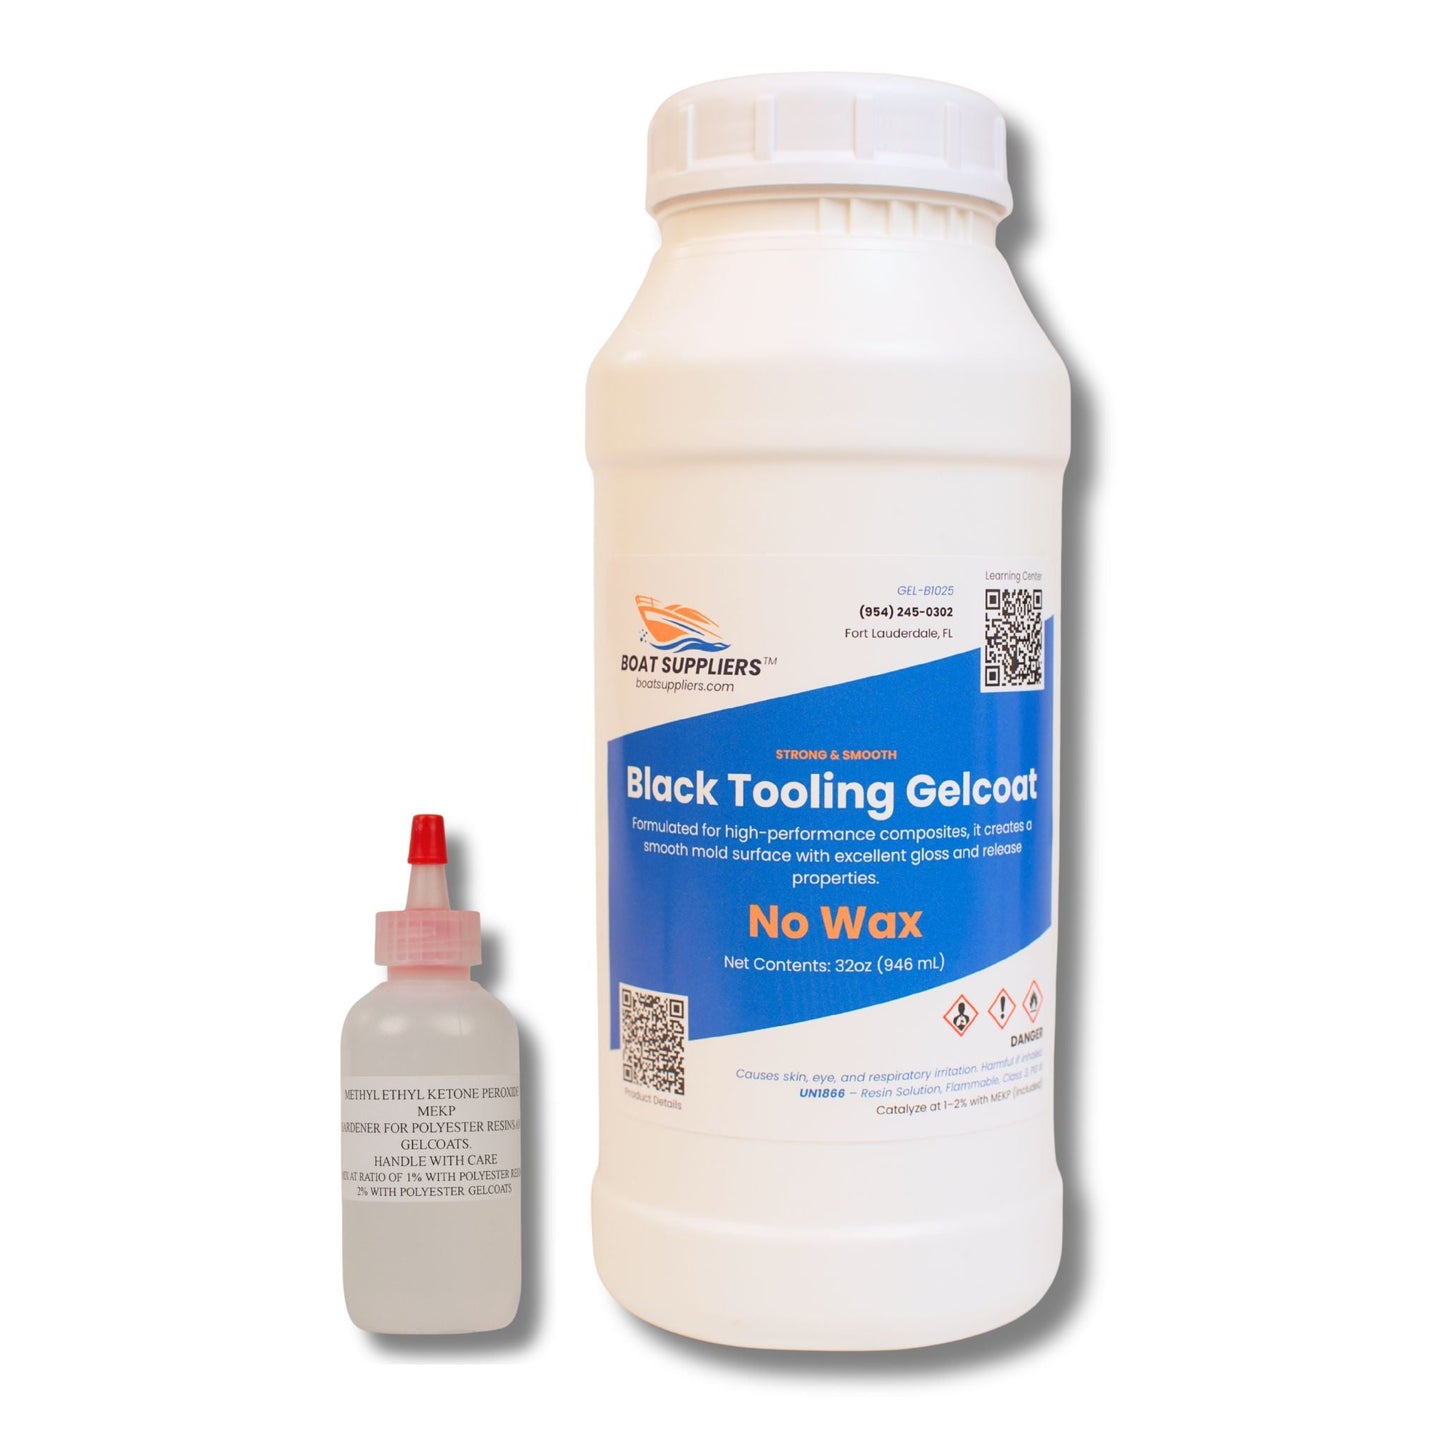
- 1 quart tooling gelcoat with hardener, no wax, black or orange
- 1 quart isophthalic polyester tooling resin with 2 oz MEKP
- Partall #2 paste wax 12 oz and Partall #10 PVA 16 oz
- 1 yd 0.75 oz veil mat and 1 yd 1.5 oz chopped strand mat, 50" wide (12.5 sq ft each)
- 8 oz fumed silica for filleting internal corners
- Wet/dry sandpaper prep pack for finishing the plug
- 3/8" x 1" fiberglass roller, three 2" chip brushes, 4 graduated cups, stir sticks, gloves
- 2 oz surfacing wax for the final layer, two 4" flexible release wedges, instruction card
The order of operations
- Get the plug perfect. A mold copies every scratch, so finish and polish first.
- Wax it, 3 to 5 coats of Partall #2, buffing between coats.
- Brush a PVA film over the wax. On a first pull off a new plug, use it.
- Brush the tooling gelcoat on at about 20 mil, in two passes. Let it gel to a firm tack.
- Lay the 0.75 oz veil mat first. It stops the heavy glass printing through to the mold face.
- Build with 1.5 oz mat to about 1/4 inch, rolling out every layer. Add surfacing wax to the last batch only.
- Let it cure hard, then work the wedges around the flange until it releases. Wash the PVA off with warm water.
The three waxes, because everyone mixes them up
- Partall #2 paste wax is the release barrier. It goes on the plug, 3 to 5 coats, buffed between each.
- Partall #10 PVA is not a wax. It is a water-soluble green film brushed or sprayed over the wax as insurance on new plugs and first pulls. It washes off with warm water.
- Surfacing wax is an additive you stir into the last layer of resin only. Polyester cures tack-free only when air is sealed off it, and that is what the wax floating to the surface does. Put it in an intermediate layer and the next layer will not bond.
Why the gelcoat says No Wax: a mold face gets laminated over. Wax at that interface is exactly what you do not want. That is the difference between tooling gelcoat and the waxed gelcoat you would use as a finish coat.
Why isophthalic: a mold has to survive repeated exotherm and demoulding without moving. Isophthalic tooling resin shrinks less and holds shape better than the general purpose orthophthalic resin used for parts. It is the right resin for the tool and the wrong resin to save money on.
Building something bigger than a hatch cover? Step up to the Standard kit for about 5 square feet or the Pro kit for about 10.
Why chopped strand mat and not 1708
This is the most common question in mold building and the answer is not the one people expect.
- Chopped strand mat is random-oriented, so it has no grain and prints no pattern through to the mold face. A tool copies itself into every part you ever pull off it, so fibre read on a mold is permanent in a way it never is on a part.
- Mat conforms. It goes into compound curves and tight radii without bridging. 1708 is a stitched structural biaxial: stiff, prone to bridging in a corner, and its stitch bundles telegraph as the laminate shrinks.
- 1708 is a structural fabric, built for directional strength in a part. A mold does not want directional stiffness, it wants dimensional stability and thickness. 1708 also costs nearly twice as much per yard for a job mat does better.
Use 1708 to repair a transom or lay up a hull. Use mat to build the tool that makes them.
Fillet your internal corners before you laminate. A sharp inside corner is exactly where glass bridges and traps air, and a void behind the gelcoat becomes a chip on the first pull. Thicken a little resin with the fumed silica into a peanut-butter putty, run a radius into every internal corner, and let the glass follow a curve instead of a crease.
Specifications
Specifications
Blog posts

1708 vs 1808 Biaxial Fiberglass: Which Weight...
1708 vs 1808 Biaxial Fiberglass: Which Weight...
