How to Build a Fiberglass Surfboard: A Step-by-Step Guide for Composite Construction

14 July 2026
A successful fiberglass surfboard build is equal parts craftsmanship and materials knowledge. Whether you're shaping your first blank or you're an experienced builder refining your lamination process, the difference between a board that lasts a decade and one that delaminates after a season almost always comes down to material selection and technique. This guide walks you through the full composite construction process, from blank prep to final cure, with specific guidance on which fiberglass weights to use, how to work with epoxy resin, and where shortcuts will cost you.
Understanding the Composite Structure of a Surfboard
A fiberglass surfboard is a sandwich composite: a foam core (typically EPS or PU) wrapped in layers of fiberglass cloth saturated with resin. The fiberglass shell provides structural rigidity, impact resistance, and waterproofing. The foam provides buoyancy and a lightweight core. Getting the layup schedule right, meaning the correct number and weight of fiberglass layers in the right locations, is what separates a professional-quality board from a garage experiment.
Most shortboards use woven E-glass in 4 oz/yd² weight on the deck and bottom, with an extra reinforcement layer on the deck where foot pressure concentrates. Longboards typically step up to 6 oz/yd². High-performance decks can benefit from S-glass at equivalent weights for improved stiffness-to-weight ratio, and carbon fiber tape is the correct choice for rail reinforcement where you want directional stiffness without the weight penalty of additional glass layers.
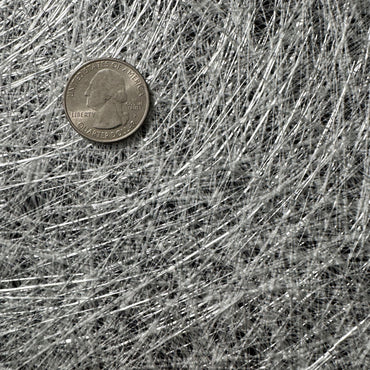
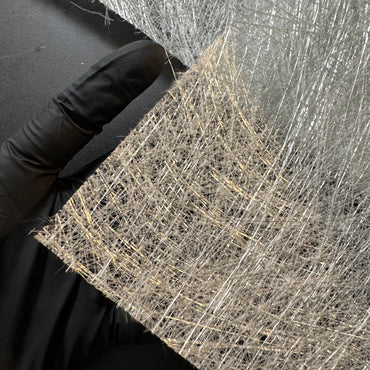
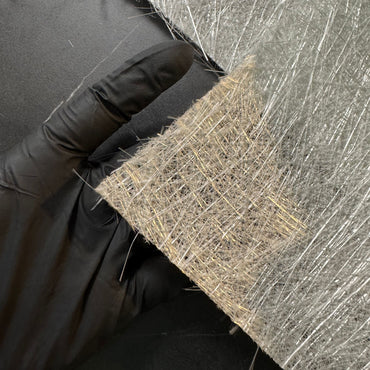
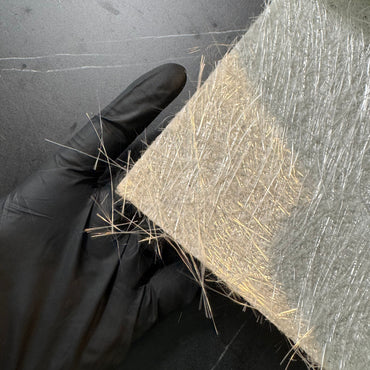
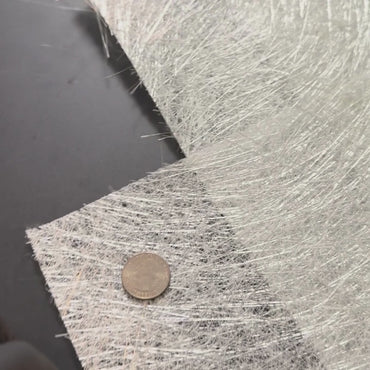
A note on chopped strand mat (CSM): CSM uses a binder that is designed to dissolve in styrene-based polyester resin, which is what activates it during wet-out. In an epoxy system, that binder does not dissolve properly, resulting in poor interlaminar adhesion, uneven wet-out, and added weight with no structural benefit. CSM belongs in polyester lamination work. It has no place in an epoxy surfboard build. Every material recommendation in this guide is for epoxy systems using woven fiberglass.
Step 1: Prepare Your Blank and Plan Your Layup Schedule
Before you touch any fiberglass, your foam blank needs to be fully shaped, sanded smooth to 120 grit, and completely dry. Any moisture in the foam will cause outgassing under the heat of a curing epoxy layup, which leads to bubbles and voids in your lamination.
Plan your layup schedule on paper first. For an epoxy surfboard build:
- Bottom skin: One layer of 4 oz/yd² woven E-glass cloth
- Deck skin: Two layers of 4 oz/yd² woven E-glass, with the reinforcement layer covering the front foot zone and tail pad area
- Rails: Lapped continuously from deck cloth; add carbon fiber tape along the rail line for directional stiffness on performance builds
- Fin boxes and leash plug area: Additional woven glass patches, minimum two layers of 4 oz/yd², cut on a 45-degree bias for multi-directional load distribution
Recommended Layup Schedule by Board Type
| Board Type | Application Zone | Cloth Weight | Material | Resin System |
|---|---|---|---|---|
| Shortboard | Bottom skin | 4 oz/yd² | Woven E-glass | Epoxy |
| Shortboard | Deck skin (base + patch) | 4 oz/yd² x2 | Woven E-glass | Epoxy |
| Shortboard (performance) | Deck skin | 4 oz/yd² | S-glass | Epoxy |
| Longboard | Bottom skin | 6 oz/yd² | Woven E-glass | Epoxy |
| Longboard | Deck skin (base + patch) | 6 oz/yd² x2 | Woven E-glass | Epoxy |
| All types | Rail reinforcement | Narrow tape format | Carbon fiber tape | Epoxy |
| All types | Fin box and leash plug | 4 oz/yd² x2 (bias cut) | Woven E-glass | Epoxy |
Products used in this guide
-


West System 105 Epoxy Resin
Regular price From $59.51 USDSale price From $59.51 USD Regular priceUnit price per -

West System 206 Slow Hardener
Regular price From $34.61 USDSale price From $34.61 USD Regular priceUnit price per -
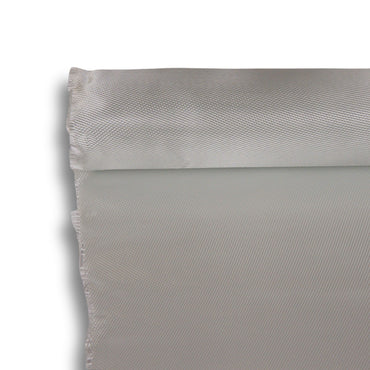
8.9oz Fiberglass S Cloth - Style 6781 Satin Weave
Regular price From $27.99 USDSale price From $27.99 USD Regular priceUnit price $27.99 per yd -

5.7 oz Plain Weave Carbon Fiber Tape (3K)
Regular price From $8.45 USDSale price From $8.45 USD Regular priceUnit price $8.45 per yd$52.10 USD


Step 2: Choose the Right Fiberglass for Your Build
For overall lamination on a standard epoxy surfboard, woven E-glass cloth at 4 oz/yd² is the correct starting point. It wet-outs cleanly with low-viscosity epoxy, conforms to moderate curves, and produces a thin, light shell with predictable flex characteristics.
For performance decks where dent resistance matters more than ultimate flex, S-glass at 4 oz/yd² provides roughly 30 percent higher tensile strength than standard E-glass at the same weight. The trade-off is cost, so many builders use S-glass on the deck only and E-glass on the bottom.
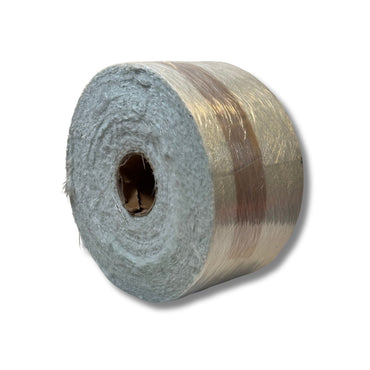
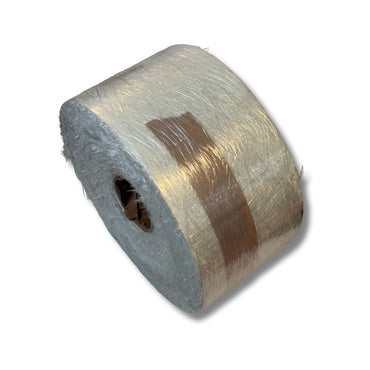
For rail reinforcement, a narrow carbon fiber tape eliminates the need to cut and piece together larger sheets of cloth. The tape format lays a consistent reinforcement line along the rail without gaps, overlapping ridges, or dry spots that would show through the final finish. Carbon at the rail adds directional stiffness exactly where a board loads during a turn, without adding measurable weight to the shell.
Step 3: Set Up Your Mold Release (If Building Over a Mold)
If you're building a composite surfboard over a plug or using a female mold for production, proper mold release is non-negotiable. Skipping this step, or using an inadequate release agent, means destroying your mold and your part at the same time. For a full walkthrough of the mold-making process, see our step-by-step fiberglass mold guide.
Partall #2 Paste Wax works with both polyester and epoxy systems. Apply a minimum of three coats to a properly prepared mold surface, buffing each coat to a clear film before applying the next. Allow the final coat to cure for at least 30 minutes before laminating. On a new mold, apply five to six coats before the first pull. This is the detail that separates clean releases from builders grinding stuck parts off their tooling.
Step 4: Mix and Apply Your Epoxy Resin
For a fiberglass surfboard build, the resin system you choose affects working time, final hardness, and UV stability. West System 105 Epoxy Resin paired with 205 Fast Hardener is the standard choice for most shop-temperature surfboard lamination. The 105/205 system mixes at a 5:1 ratio by weight (five parts resin to one part hardener). Do not estimate this by eye; use a calibrated scale or West System's metered pumps. An off-ratio mix will not fully cure, leaving a soft, tacky laminate that cannot be sanded or finished.
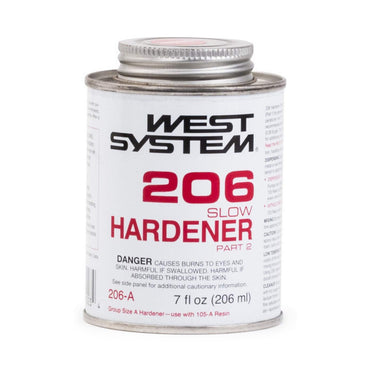
If you're working in warmer conditions above 75 degrees F or need extended working time for a large board, substitute 206 Slow Hardener at the same 5:1 ratio. For a water-clear finish coat with reduced amine blush risk, 207 Special Clear Hardener is the correct choice, again at 5:1 by weight.
Critical epoxy application points for surfboard lamination:
- Temperature: Work between 65 and 80 degrees F. Cold temperatures slow cure and increase amine blush; high temperatures cut pot life significantly.
- Wet-out direction: Pour resin onto the cloth and squeegee from the center toward the rails to avoid trapping air bubbles under the cloth.
- Resin quantity: Full fiber saturation with minimum excess. Squeegee off the surplus. Extra resin adds weight without adding strength.
- Batch size: Large mixed batches generate heat as they cure. Mix in smaller batches and work methodically to control exotherm.
Step 5: Reinforcing High-Stress Areas
The fin box area is the highest-stress zone on any surfboard. All lateral load from the fins during turns transfers into the board at this point. Rout your fin box channels before laminating, then use bias-cut sections of 4 oz/yd² woven E-glass to build up the surrounding area with at least two additional layers. For void-filling around the box itself, a thickened epoxy paste made with milled glass fiber or colloidal silica creates a fiber-reinforced plug that resists pullout forces far better than neat resin fill.
Fiberglass Surfboard Repair: Using the Same Materials
Building your own board means you know exactly how it was constructed, which makes fiberglass surfboard repair straightforward. Dings, pressure dents, and delamination can all be addressed with the same woven E-glass and 105/205 epoxy used in the original build. For small surface dings, a patch of 4 oz/yd² E-glass cut slightly larger than the damaged area and saturated with West System epoxy at the correct 5:1 ratio blends into the surrounding surface cleanly. For structural repairs around fin boxes or rail cracks, follow the same layup and wet-out process used during original construction, building back up to the same ply count as the surrounding shell.
Finishing: Sand, Gloss, and Polish
Once your lamination has fully cured, minimum 24 hours at room temperature for most epoxy systems with full mechanical properties developing over 7 days, sand the surface progressively from 80 grit through 220 grit to remove high spots, runs, and texture. Apply a fill coat of neat epoxy mixed at 5:1 to fill the weave on woven cloth, then sand again before applying any gloss coat or spray finish. For a water-clear fill coat, use 105/207 at 5:1 to minimize amine blush and maximize UV clarity.
Build Your Next Board with the Right Materials
A well-executed fiberglass surfboard build is one of the most demanding composite projects a fabricator can take on. The geometry requires clean lamination, the material selection has real technical consequences, and the margin for error is narrow. Use the correct woven fiberglass weight for each zone of the board, mix your epoxy at the verified 5:1 ratio with the hardener matched to your working conditions, and reinforce high-load zones with additional bias-cut plies rather than heavier cloth. Your first board will teach you more about composite construction than any textbook, and every one after it will be better.
If you're sourcing materials for multiple builds or running a small production operation, contact us about our wholesale program for volume pricing on fiberglass cloth, epoxy systems, and composite consumables.
Prev post

Fiberglass vs Aluminum Boat: Repair and Maintenance Costs Compared
Updated on 17 July 2026
Next post

Summer Fiberglass Projects: Make the Most of Warm Weather on Your Boat
Updated on 10 July 2026