


How to Make a Forged Carbon Fiber Desk
Forged carbon fiber has become a favorite in high-end furniture and luxury design for its striking marbled appearance, high strength-to-weight ratio, and modern appeal. If you’ve ever wanted to build your own forged carbon fiber desk, the good news is it’s entirely possible at home with the right tools, materials, and techniques.
In this guide, we’ll walk you step-by-step through the process — from preparation to the final polish — so you can create a desk that’s as functional as it is stunning.
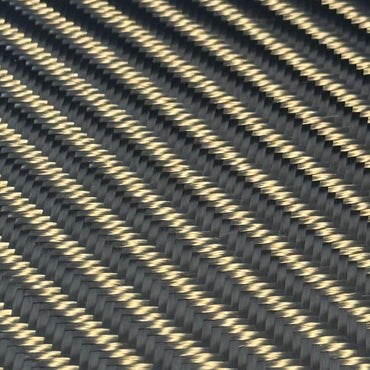
What is Forged Carbon Fiber?
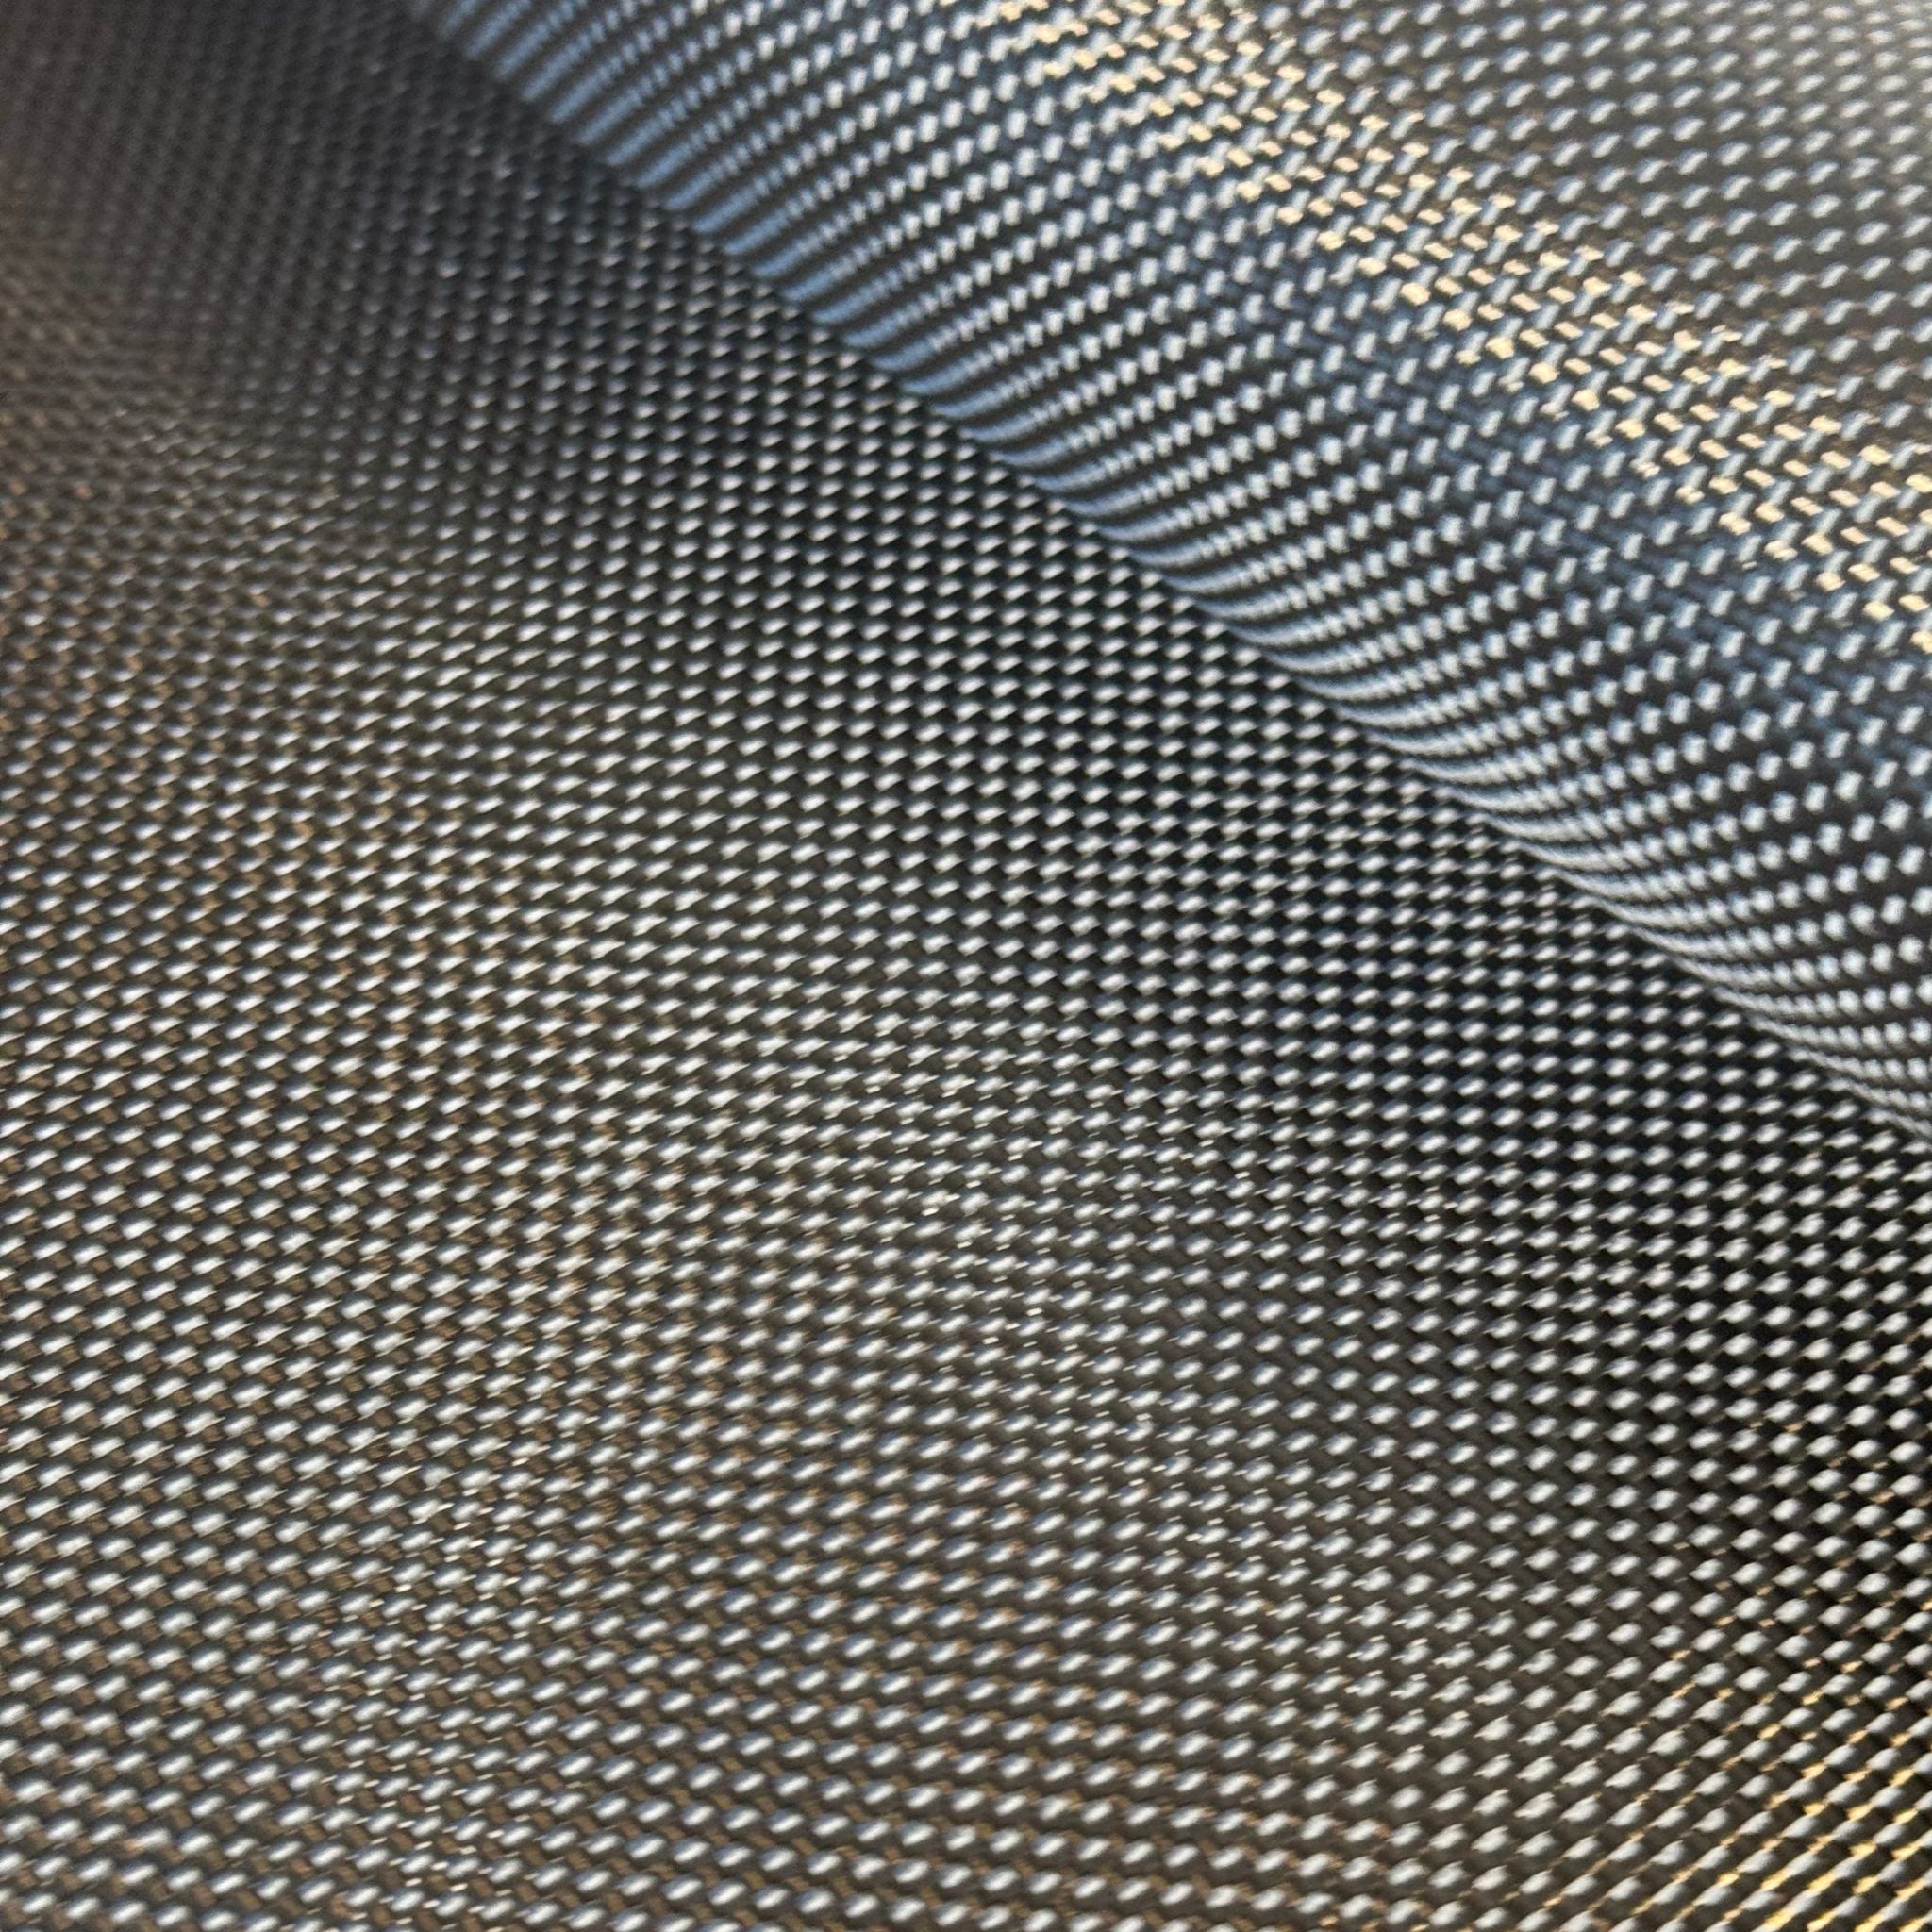
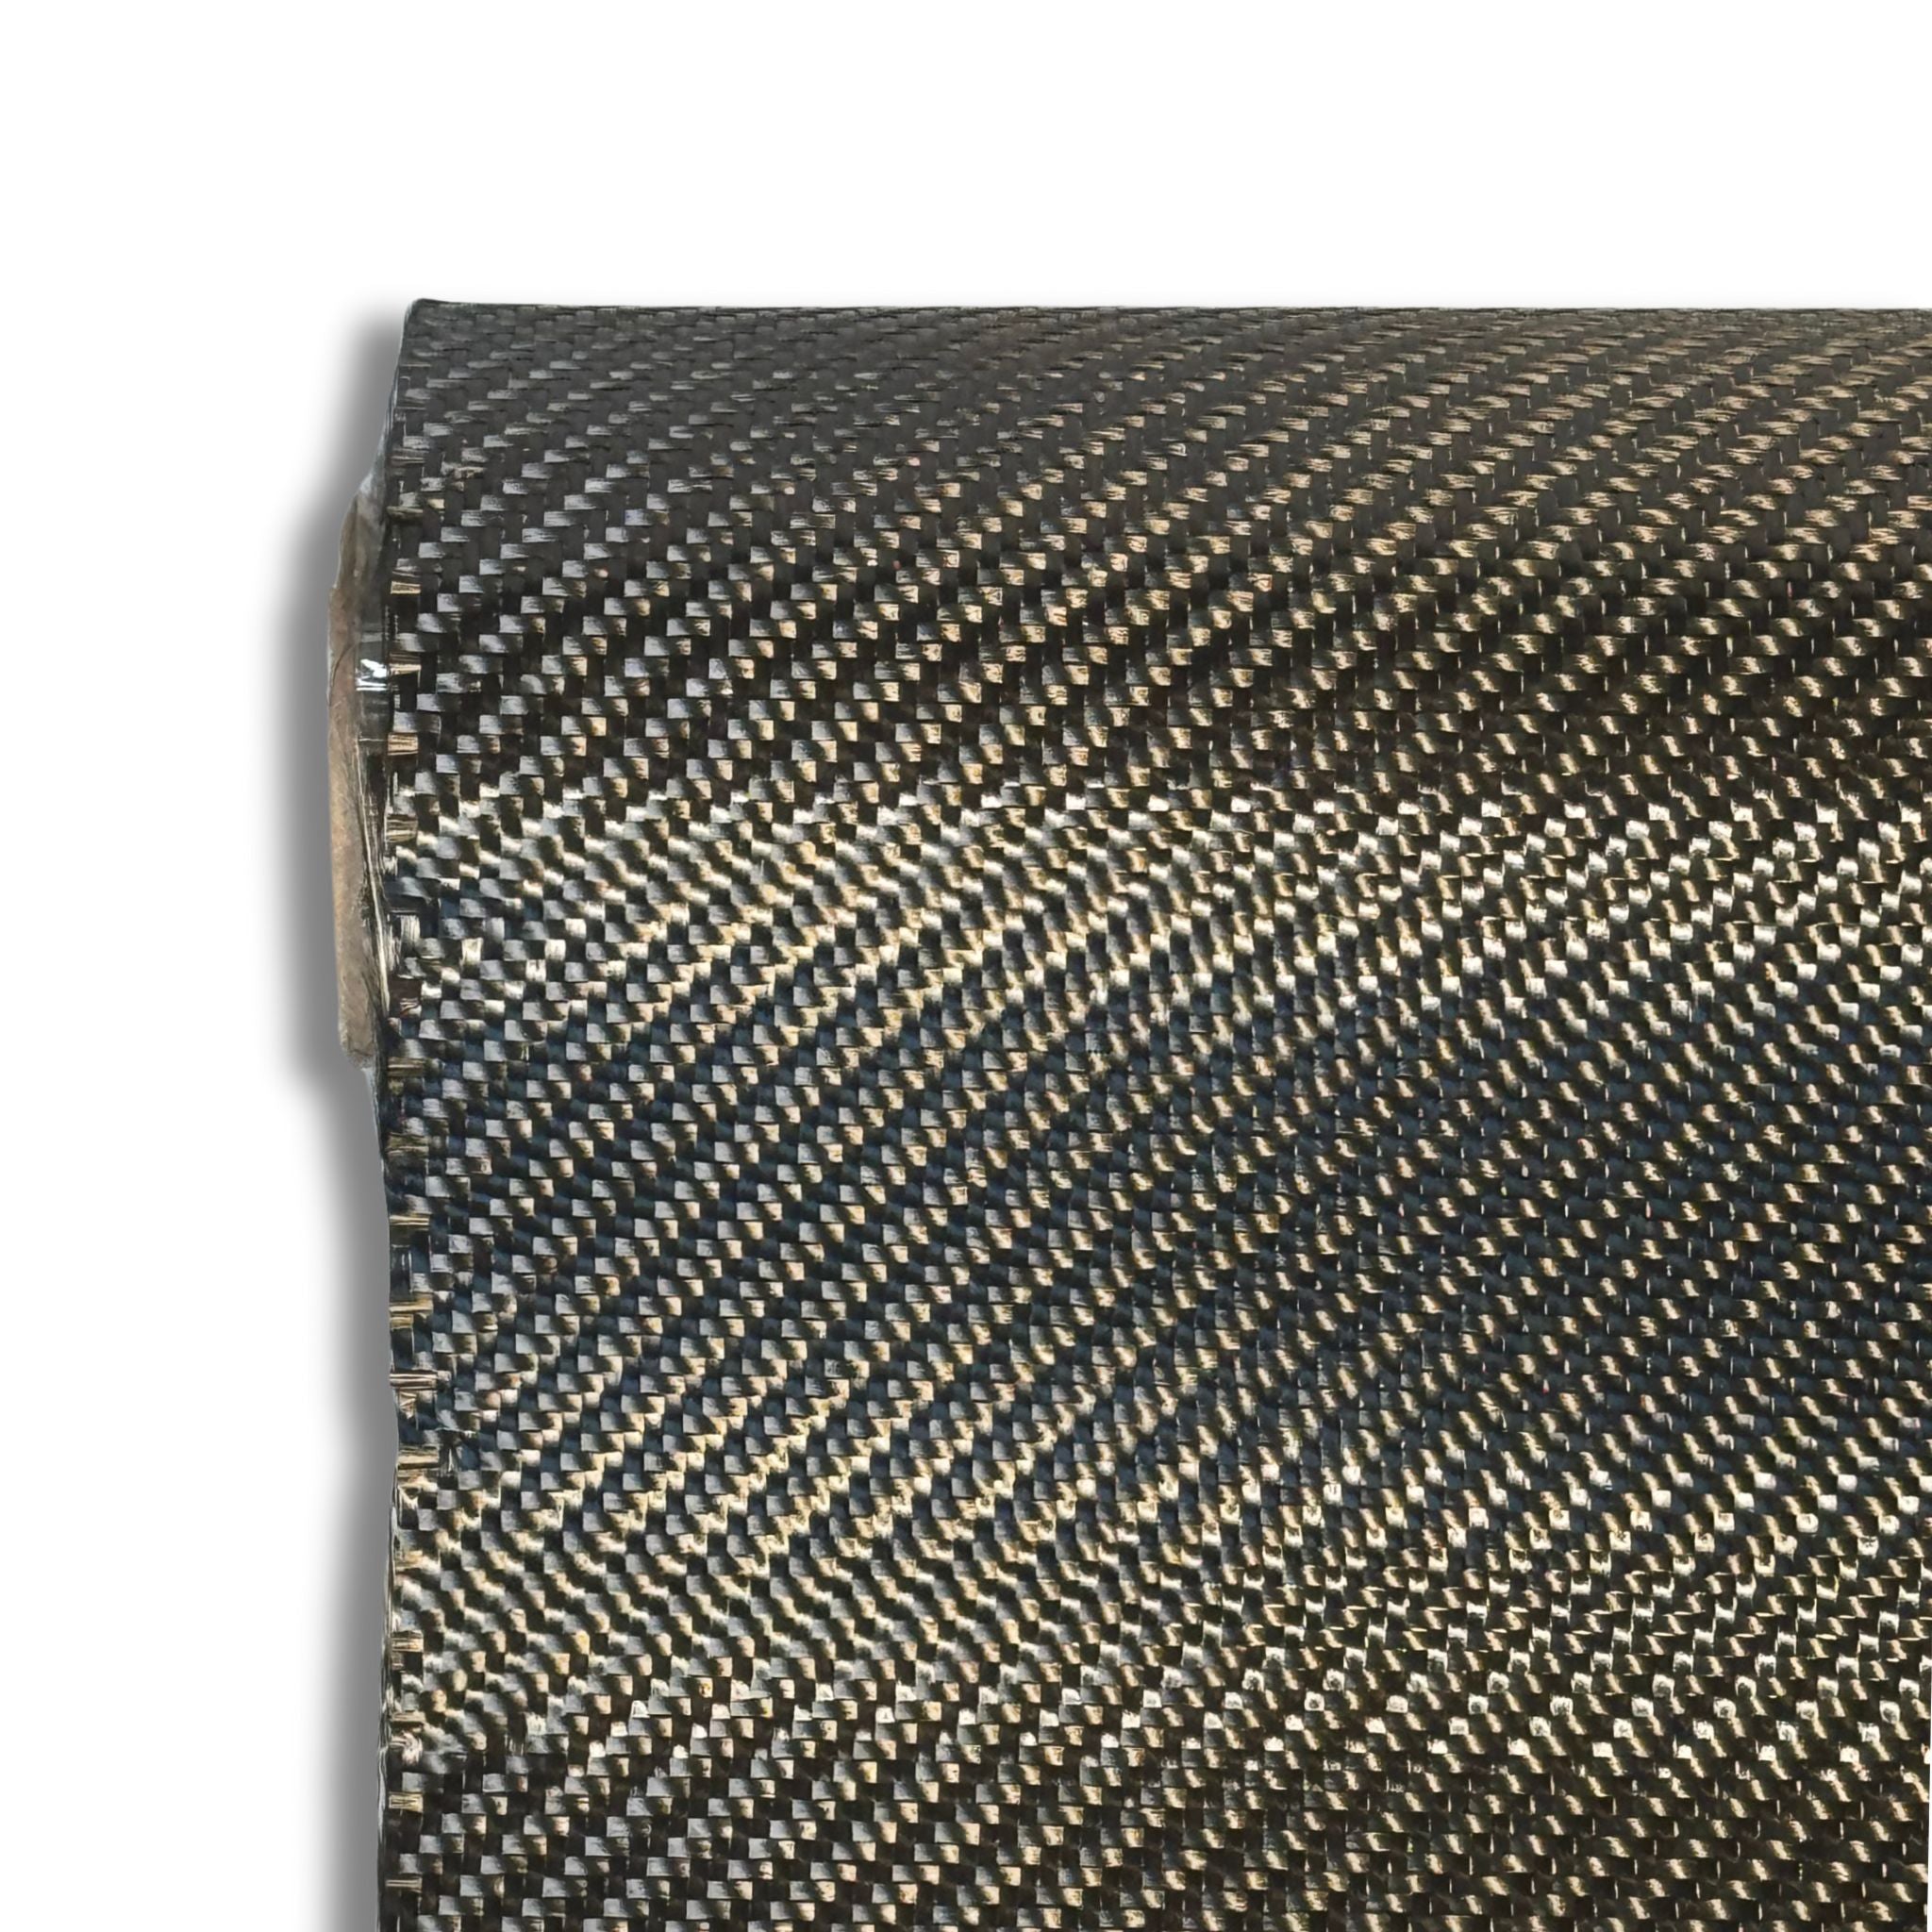
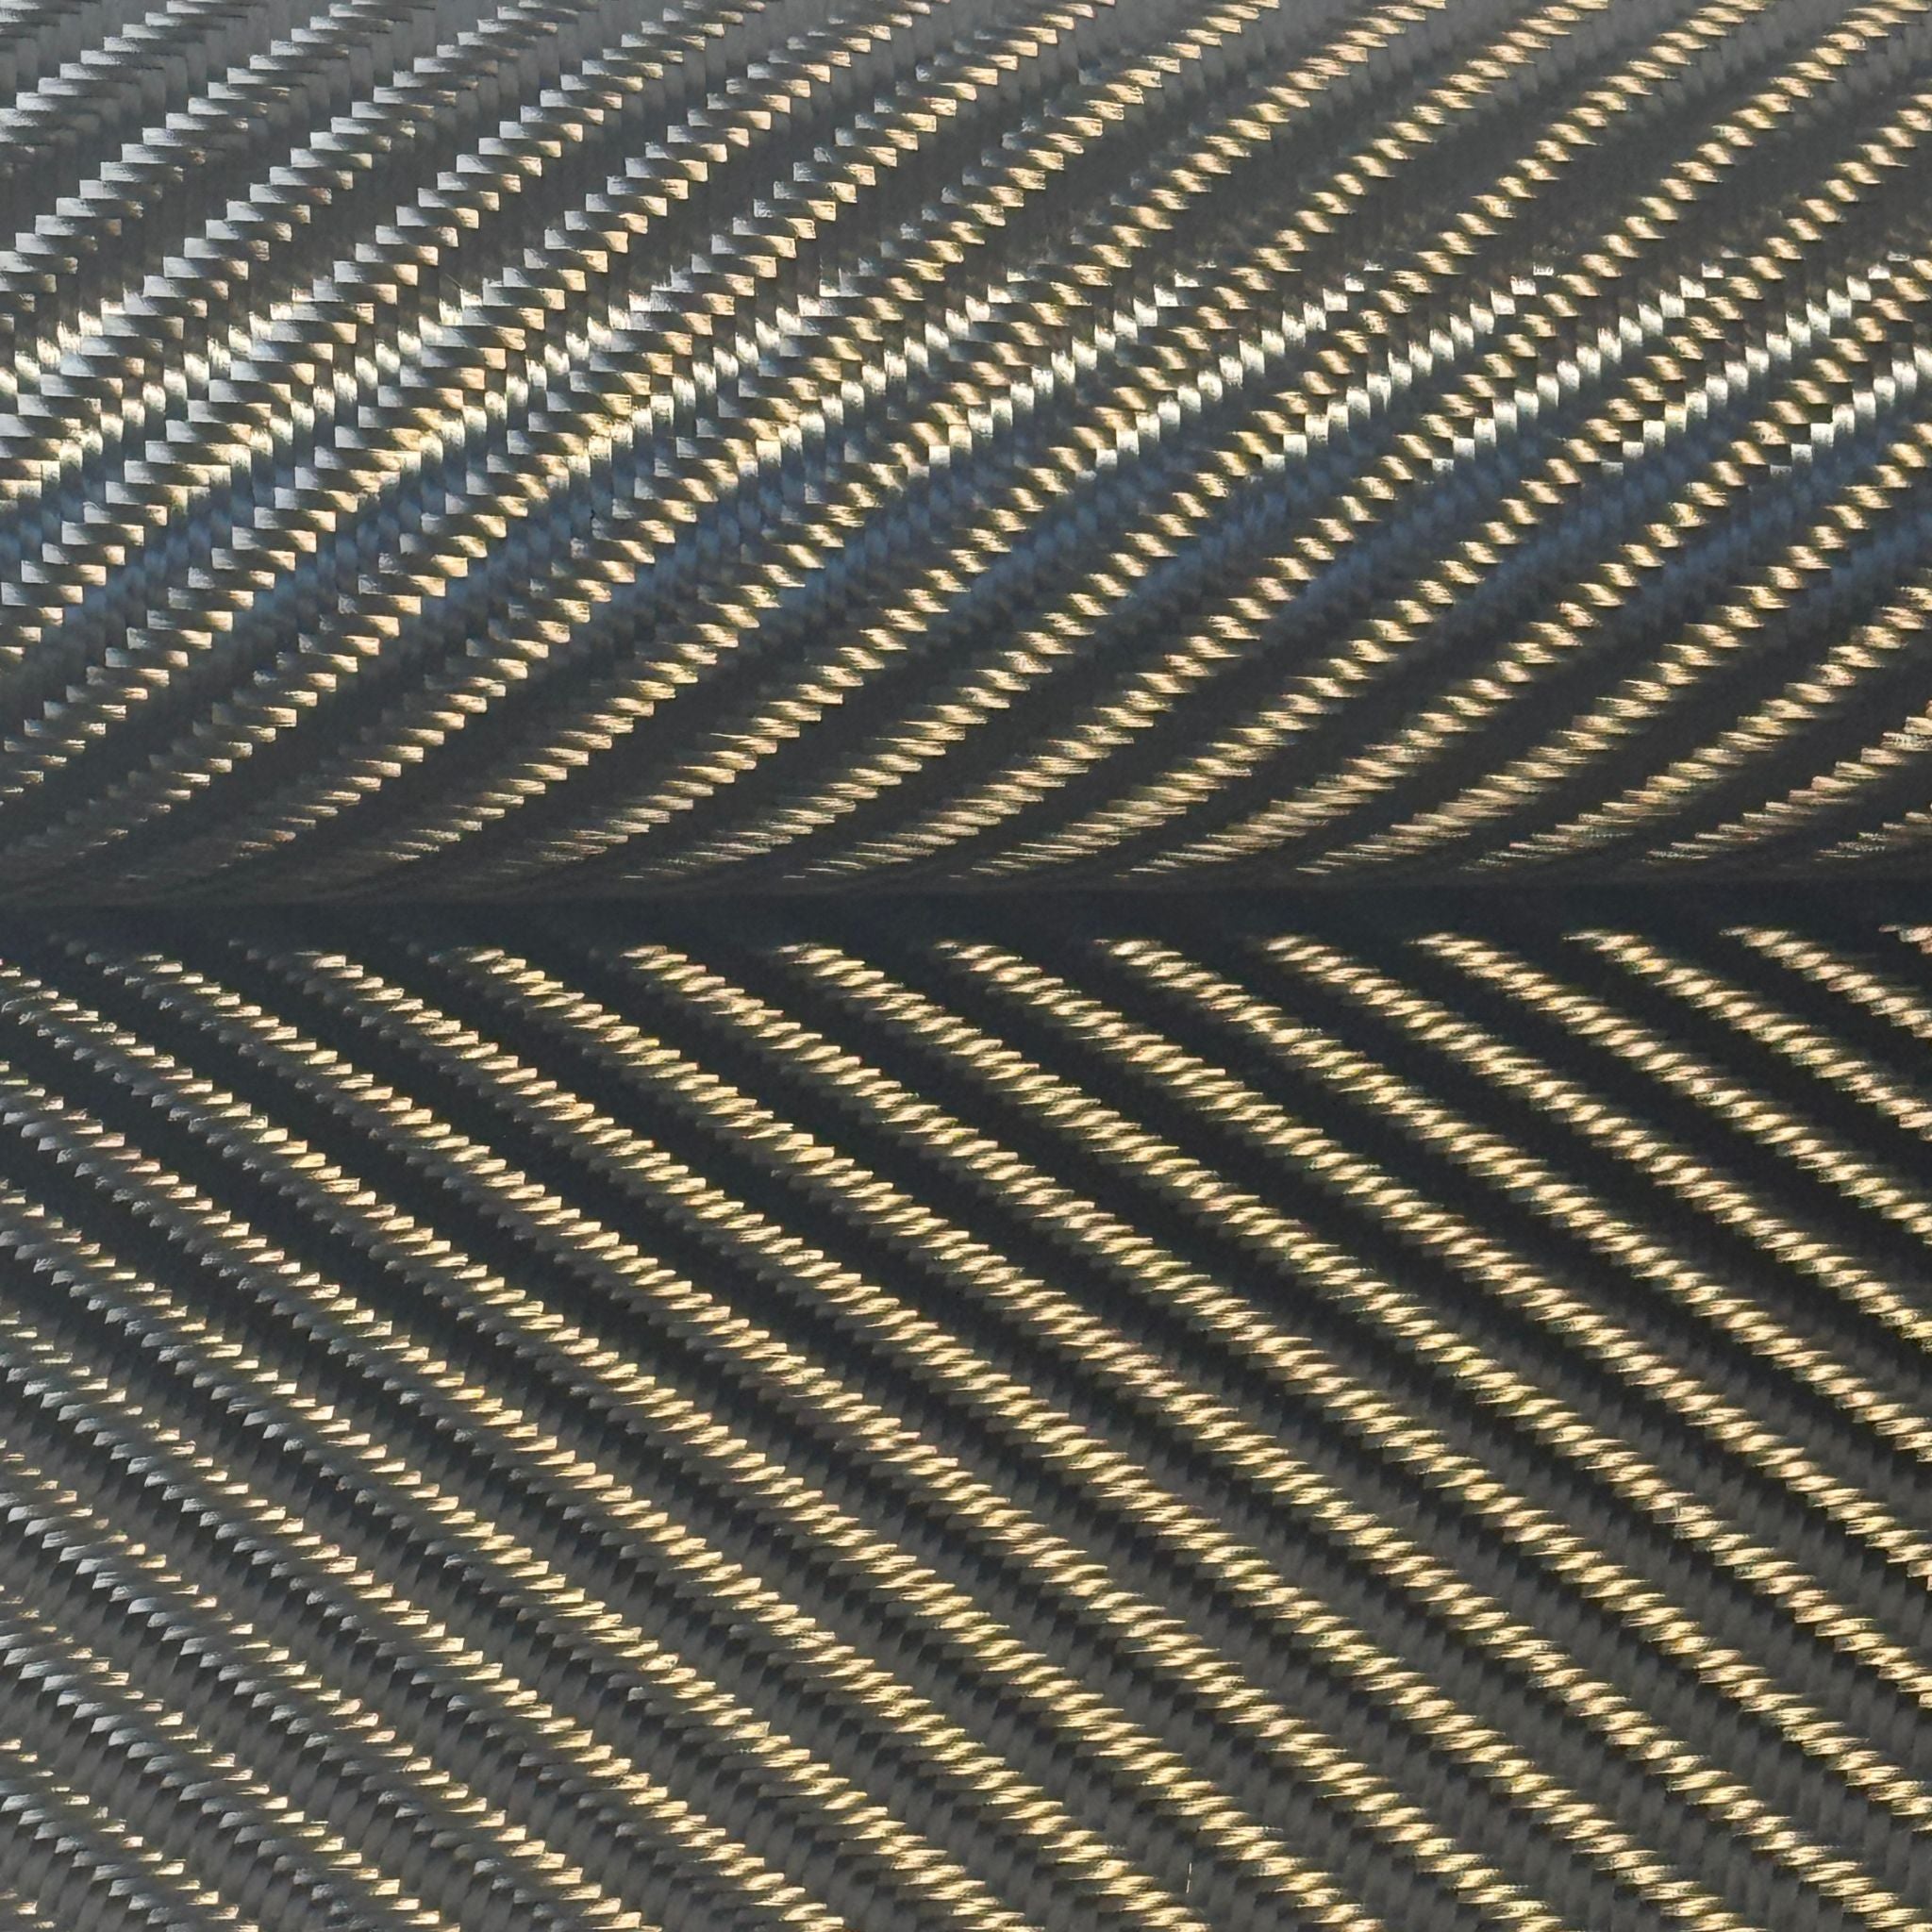
Unlike traditional carbon fiber sheets woven in a uniform pattern, forged carbon fiber is made by compressing chopped carbon fibers mixed with resin in a mold. This creates a unique, random pattern that looks almost like marble, while retaining the strength and lightness of carbon composites.
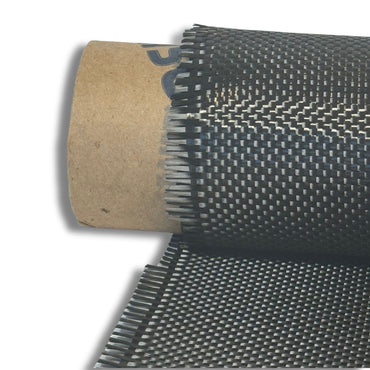
Materials You’ll Need
You can source many of these items directly from our store:
- Forged Carbon Fiber Starter Kit – includes chopped carbon fiber and resin for the project.
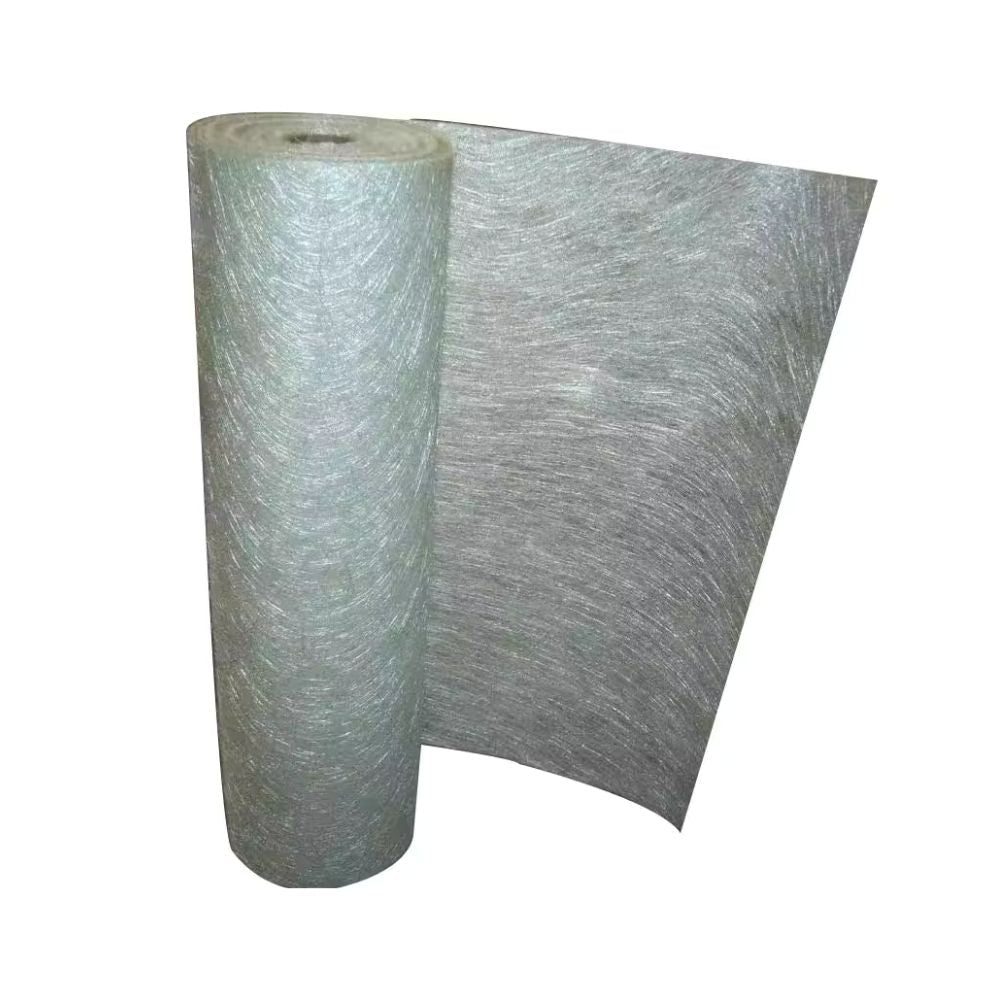
- 1/2" Chopped Carbon Fiber – for a coarser marbled effect.
- 1/4" Chopped Carbon Fiber – for a finer, more uniform appearance.
- High-quality epoxy resin (our starter kit includes it, but larger projects may require extra).
- Mold release agent to ensure easy demolding.
- Flat mold surface (MDF, glass, or a CNC-cut mold for custom shapes).
- Mixing cups, stir sticks, gloves, and safety gear.
- A vacuum bag or compression press for the curing process.
Step-by-Step Guide
1. Design & Mold Preparation
Decide on your desk’s dimensions and design. For a simple desktop, you can use a flat mold coated with mold release wax or PVA release film. This will prevent the cured resin from sticking and make removal much easier.
2. Mix the Carbon Fiber and Resin
In a mixing cup, combine chopped carbon fiber with epoxy resin. The ratio will depend on the consistency you want, but generally, you want a fiber-rich mix for maximum strength. Use the Epoxy Calculator to determine exactly how much resin you’ll need for your desk size.
3. Lay the Mix into the Mold
Spread the carbon/resin mixture evenly across the mold. Work it into the corners and edges to avoid voids or thin spots.
4. Compression or Vacuum Bagging
For the “forged” effect, the key is high pressure during curing. Place the filled mold into a vacuum bag or under a compression press to squeeze out excess resin and lock the fibers into their unique random pattern.
5. Curing
Follow the resin manufacturer’s curing time. Many epoxies cure at room temperature, but a post-cure at slightly elevated temperatures can improve strength and heat resistance.
6. Demolding & Finishing
Once fully cured, carefully remove the desk panel from the mold. Sand the edges smooth, then polish or clear-coat the surface for extra gloss and UV protection.
Pro Tips for the Best Finish
- Use both 1/4" and 1/2" chopped carbon fibers together for added depth in the marbling pattern.
- Work in small batches to avoid premature curing during layup.
- If you want a high-gloss finish, polish the mold surface before you begin. The desk will take on that mirror finish once demolded.
Why Choose Forged Carbon Fiber for Your Desk?
- Lightweight yet strong – ideal for large desks without heavy supports.
- Distinctive look – no two forged carbon surfaces are ever identical.
- Durable – resistant to scratches, warping, and moisture.
Whether you’re building a minimalist workstation or a bold executive desk, forged carbon fiber gives you a conversation piece that’s also built to last.
If you want to get started right away, grab the Forged Carbon Fiber Starter Kit and bring your desk project to life.
Prev post

How to Choose Your Fiberglass Chop Mat Size
Updated on 21 February 2026
Next post
0.75 oz vs 1.5 oz Fiberglass Mat: Which Weight Should You Use?
Updated on 21 February 2026