


How to Properly Fiberglass a Boat Hull for Maximum Durability

11 April 2025
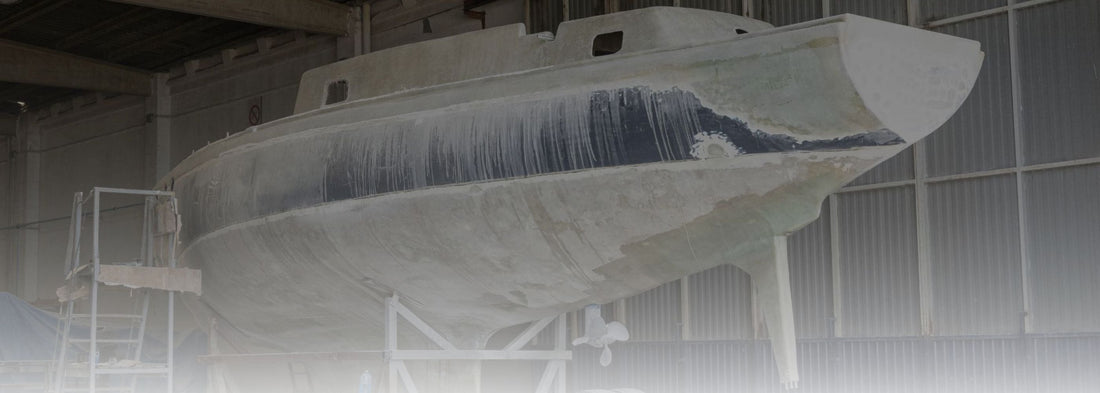
Fiberglassing a boat hull is a crucial process that ensures strength, water resistance, and longevity. Whether you're building a new boat or repairing an existing hull, using the right techniques and materials will help you achieve a professional-grade finish. Below, we’ll guide you through the essential steps to fiberglass a boat hull for maximum durability.
Step 1: Gather Your Materials
Before you start, make sure you have all the necessary materials:
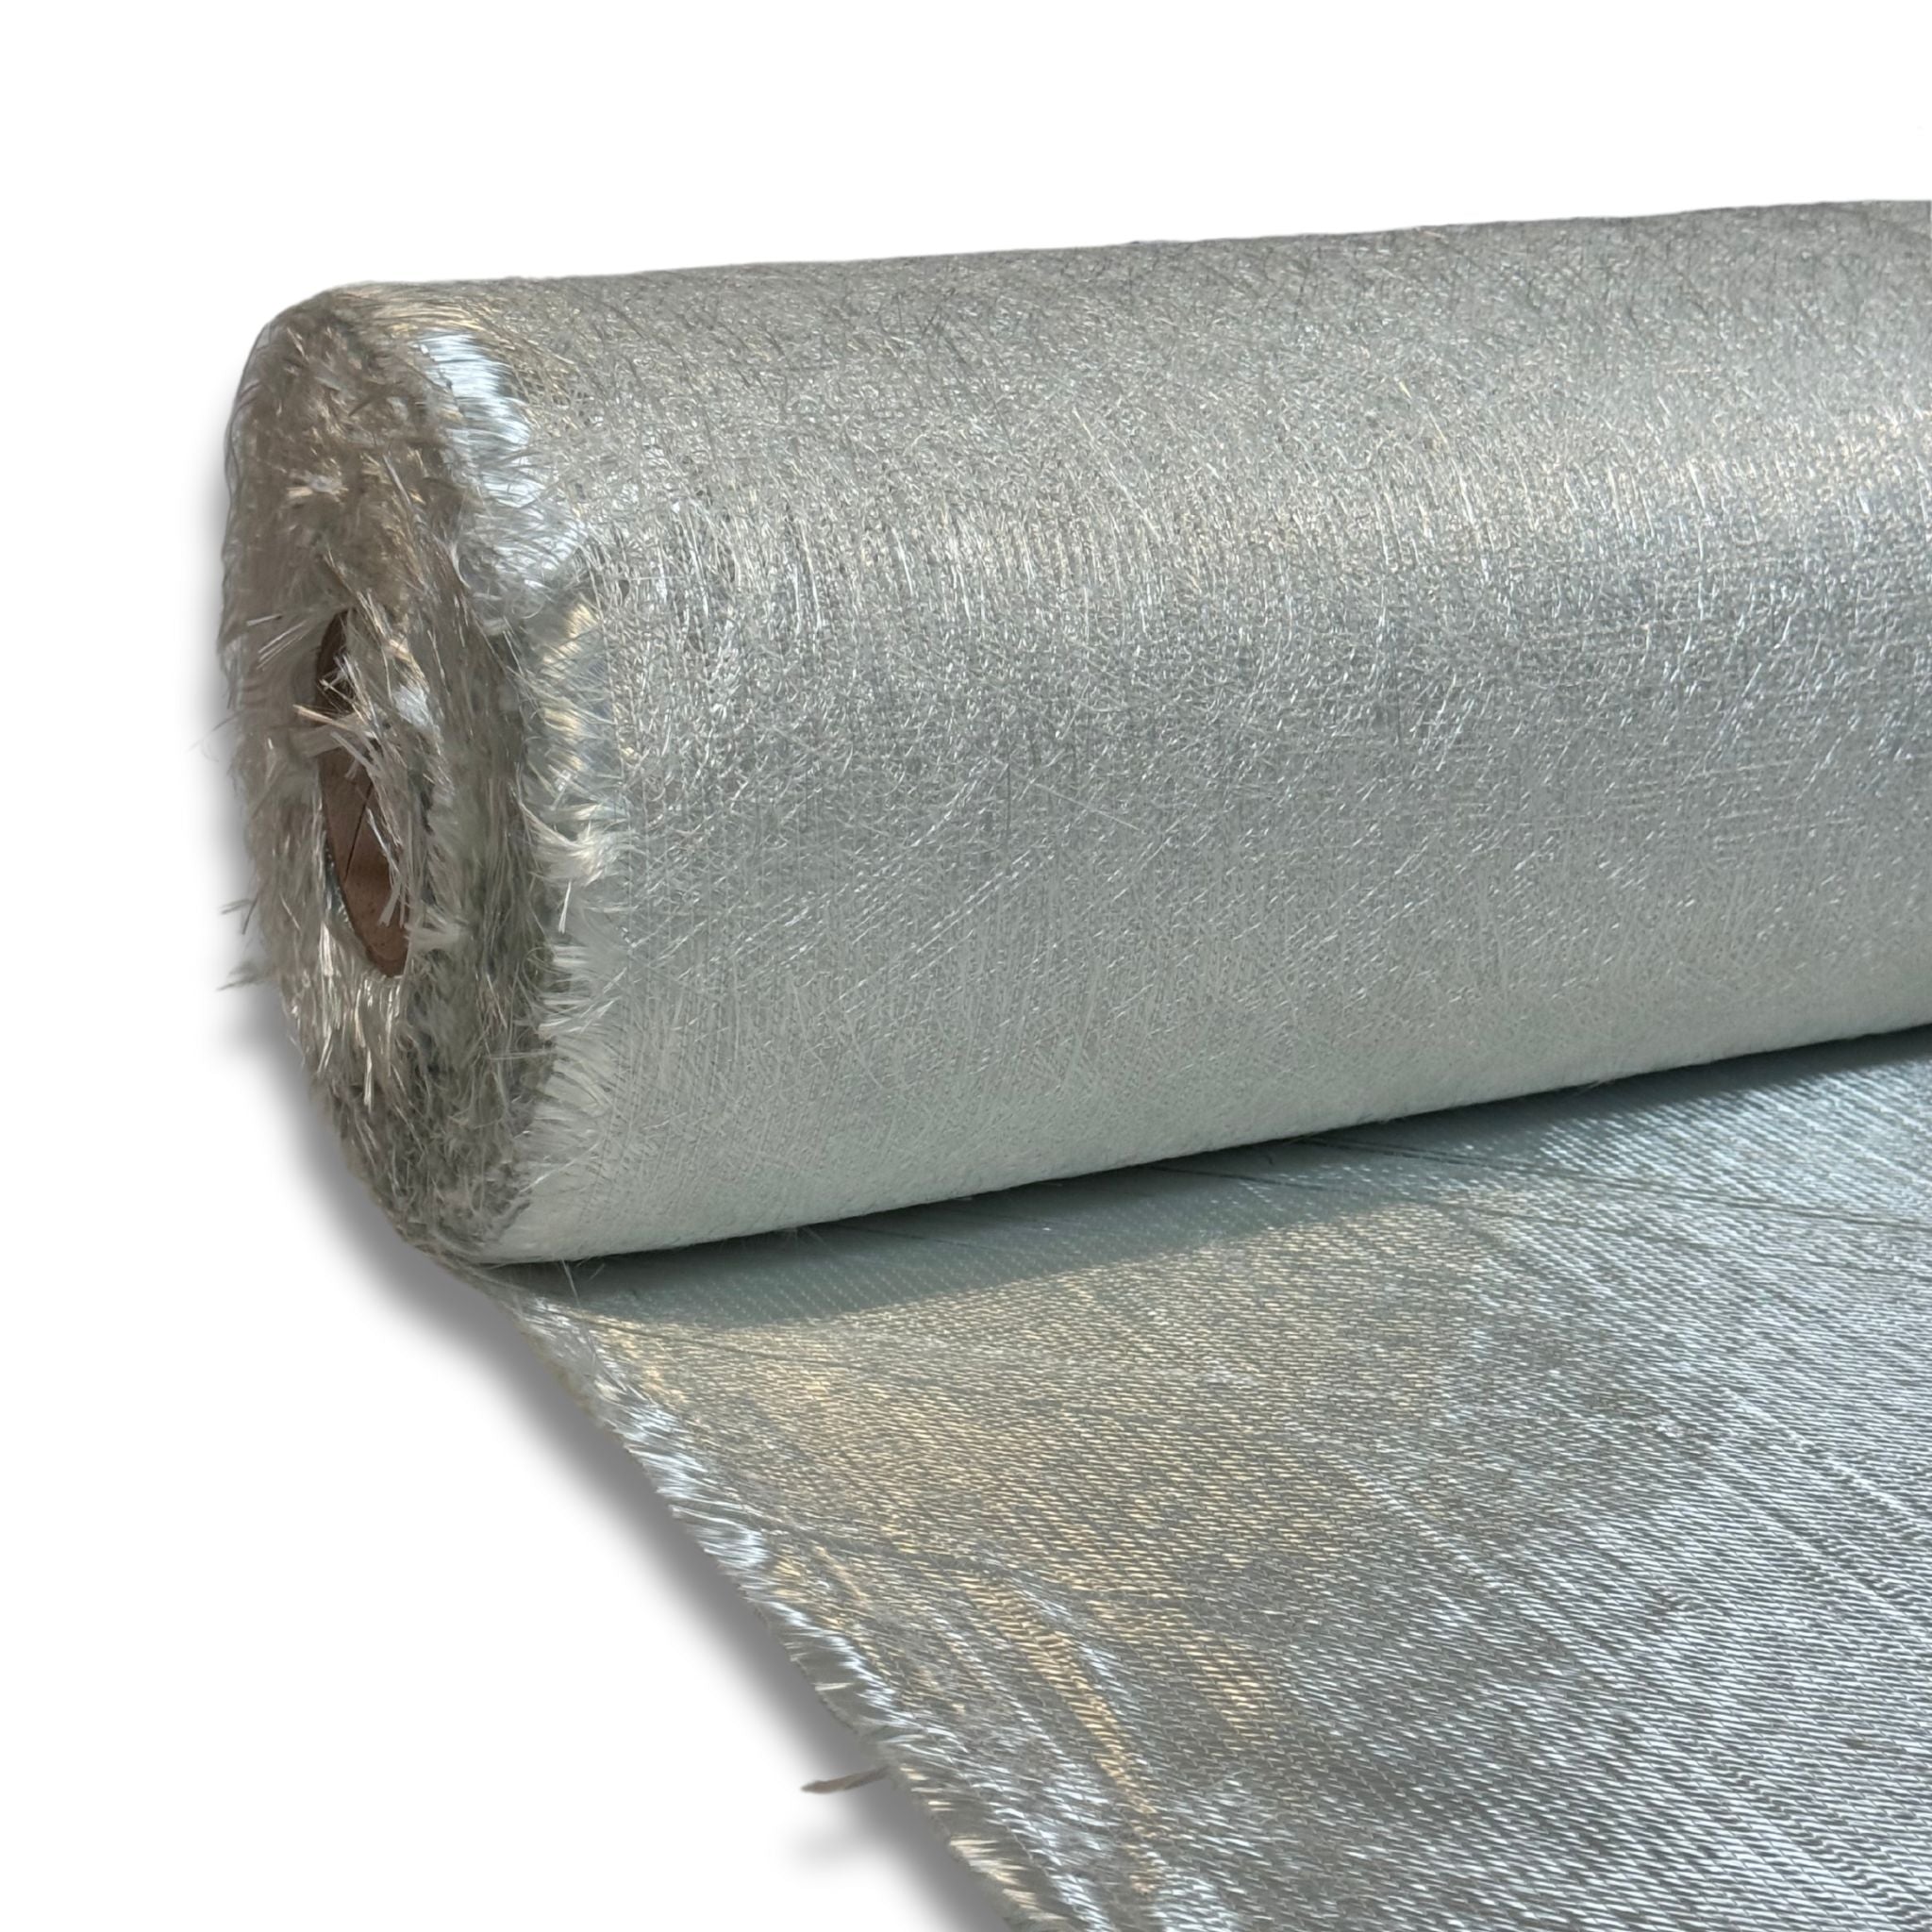
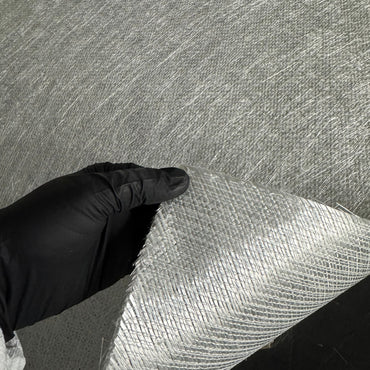
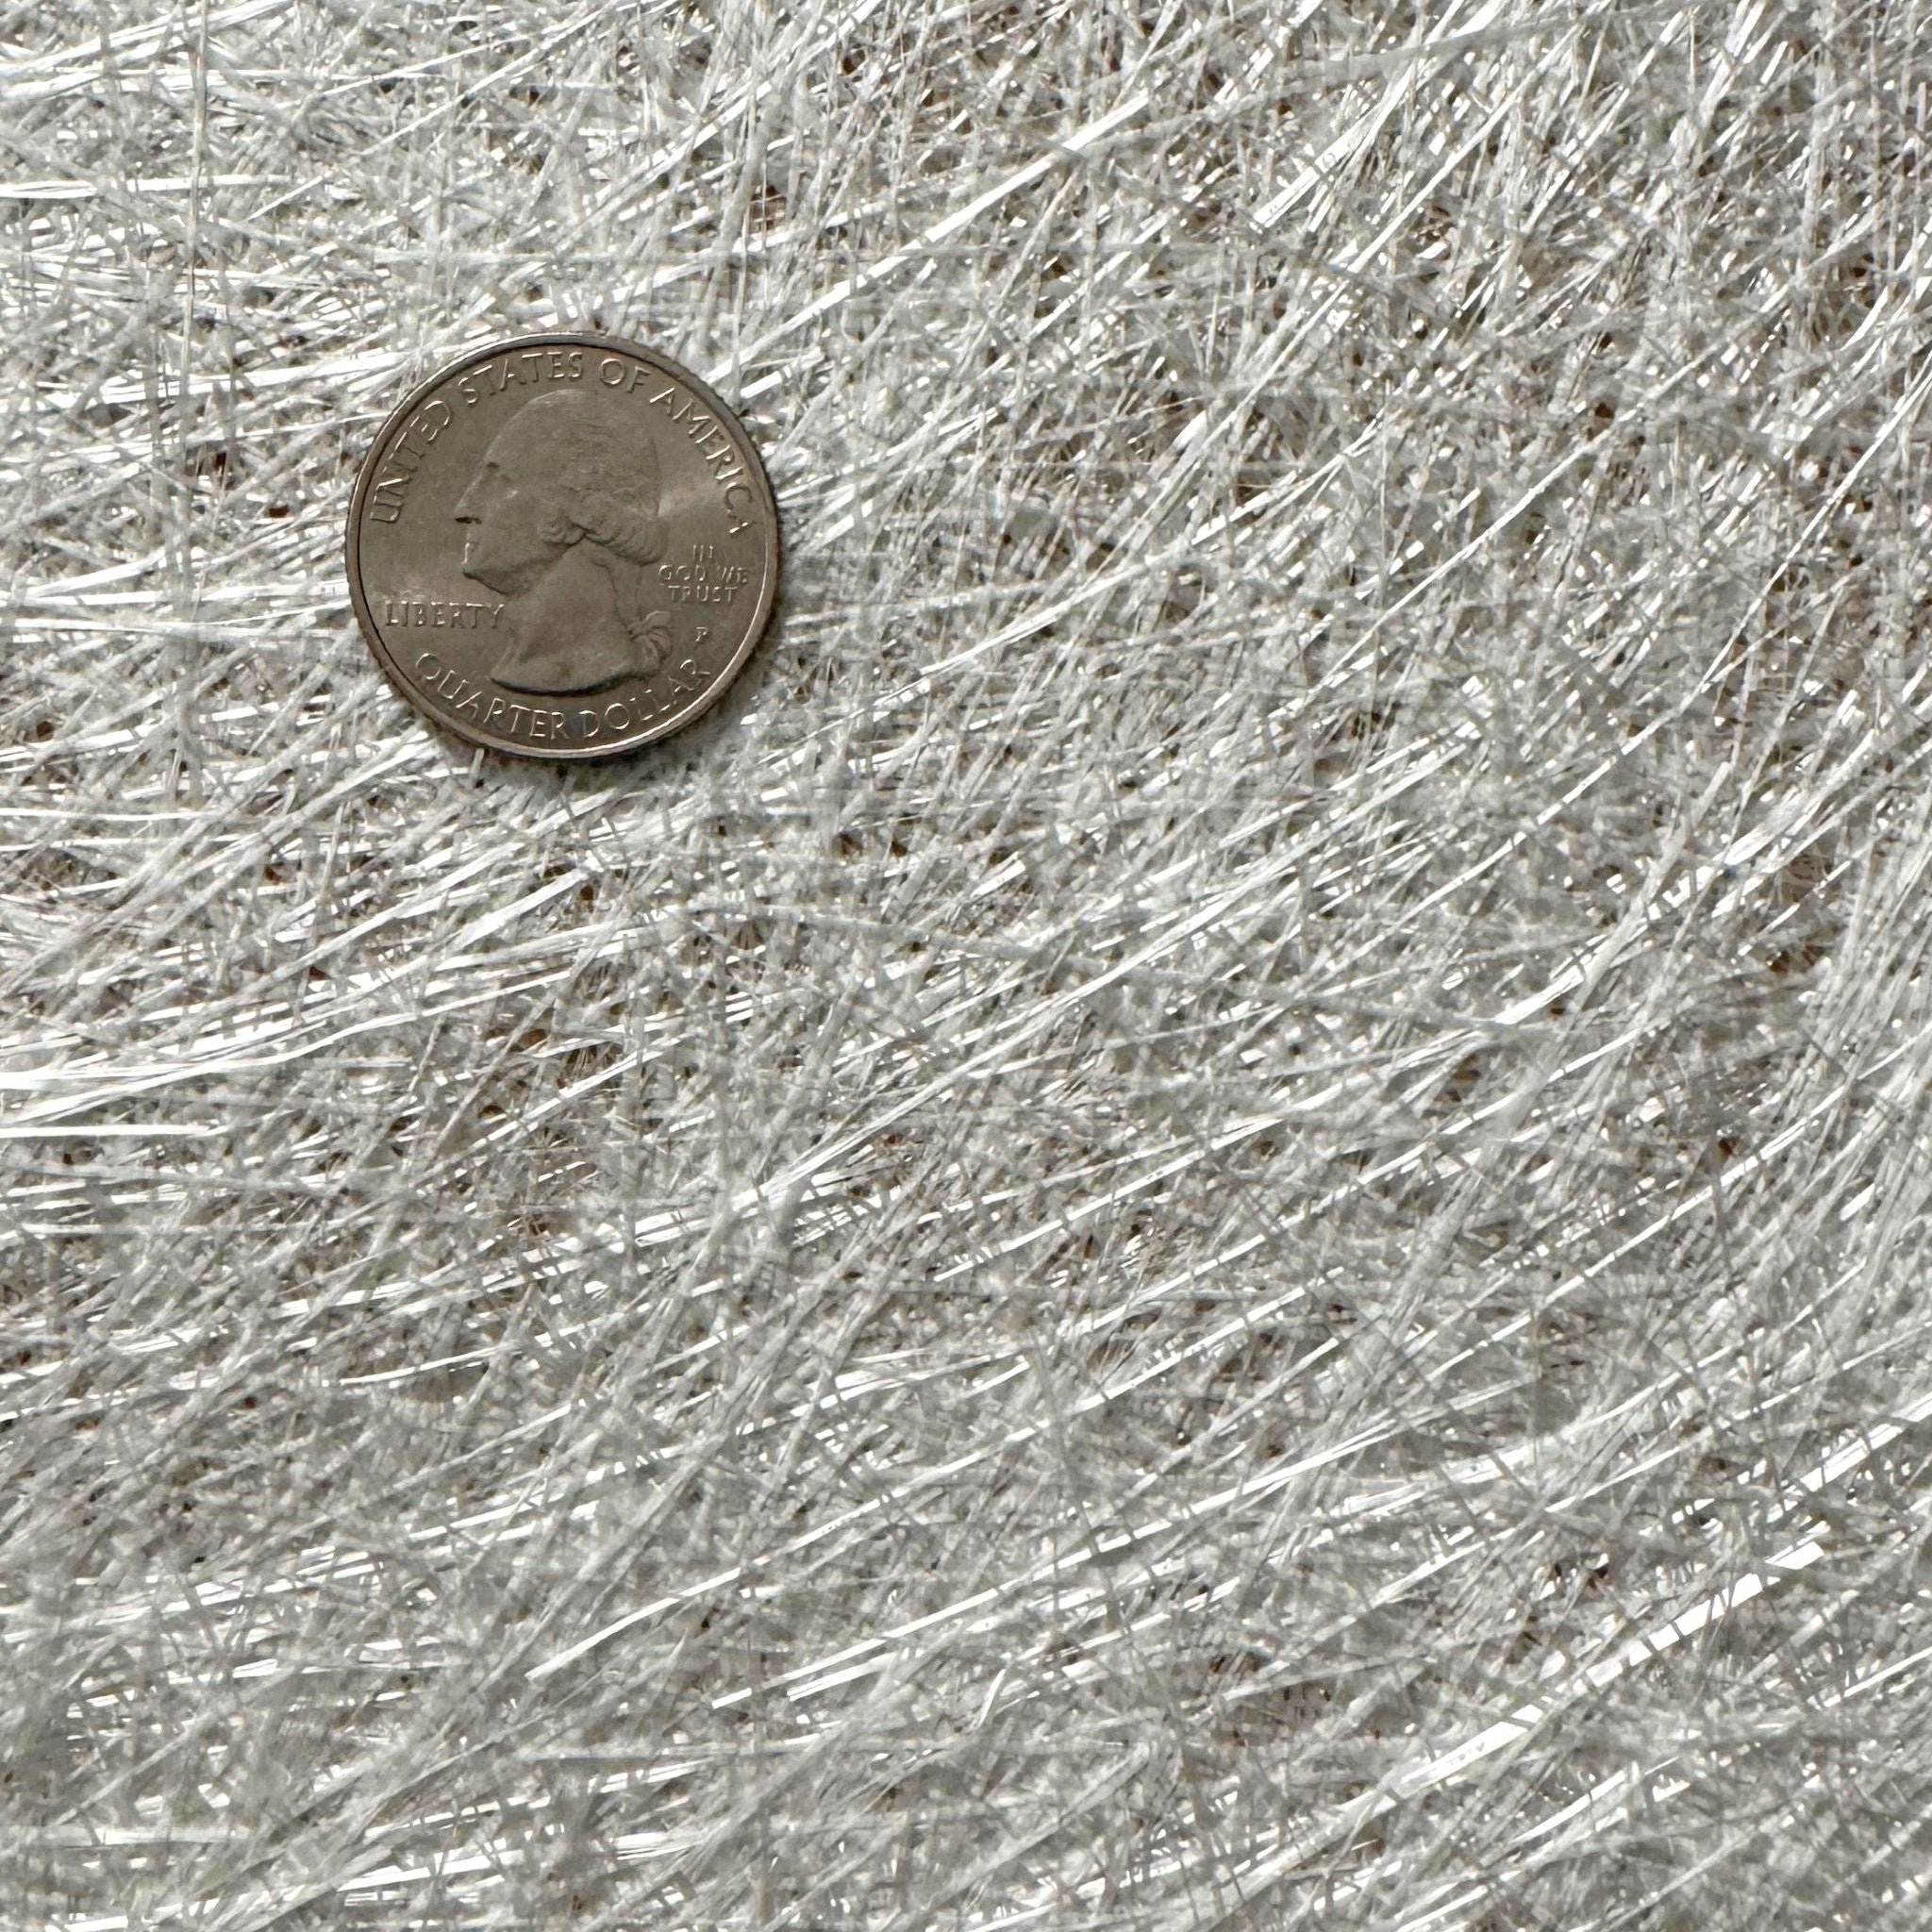
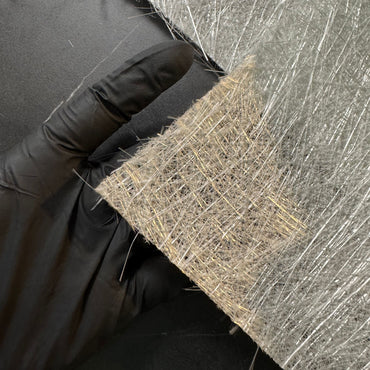
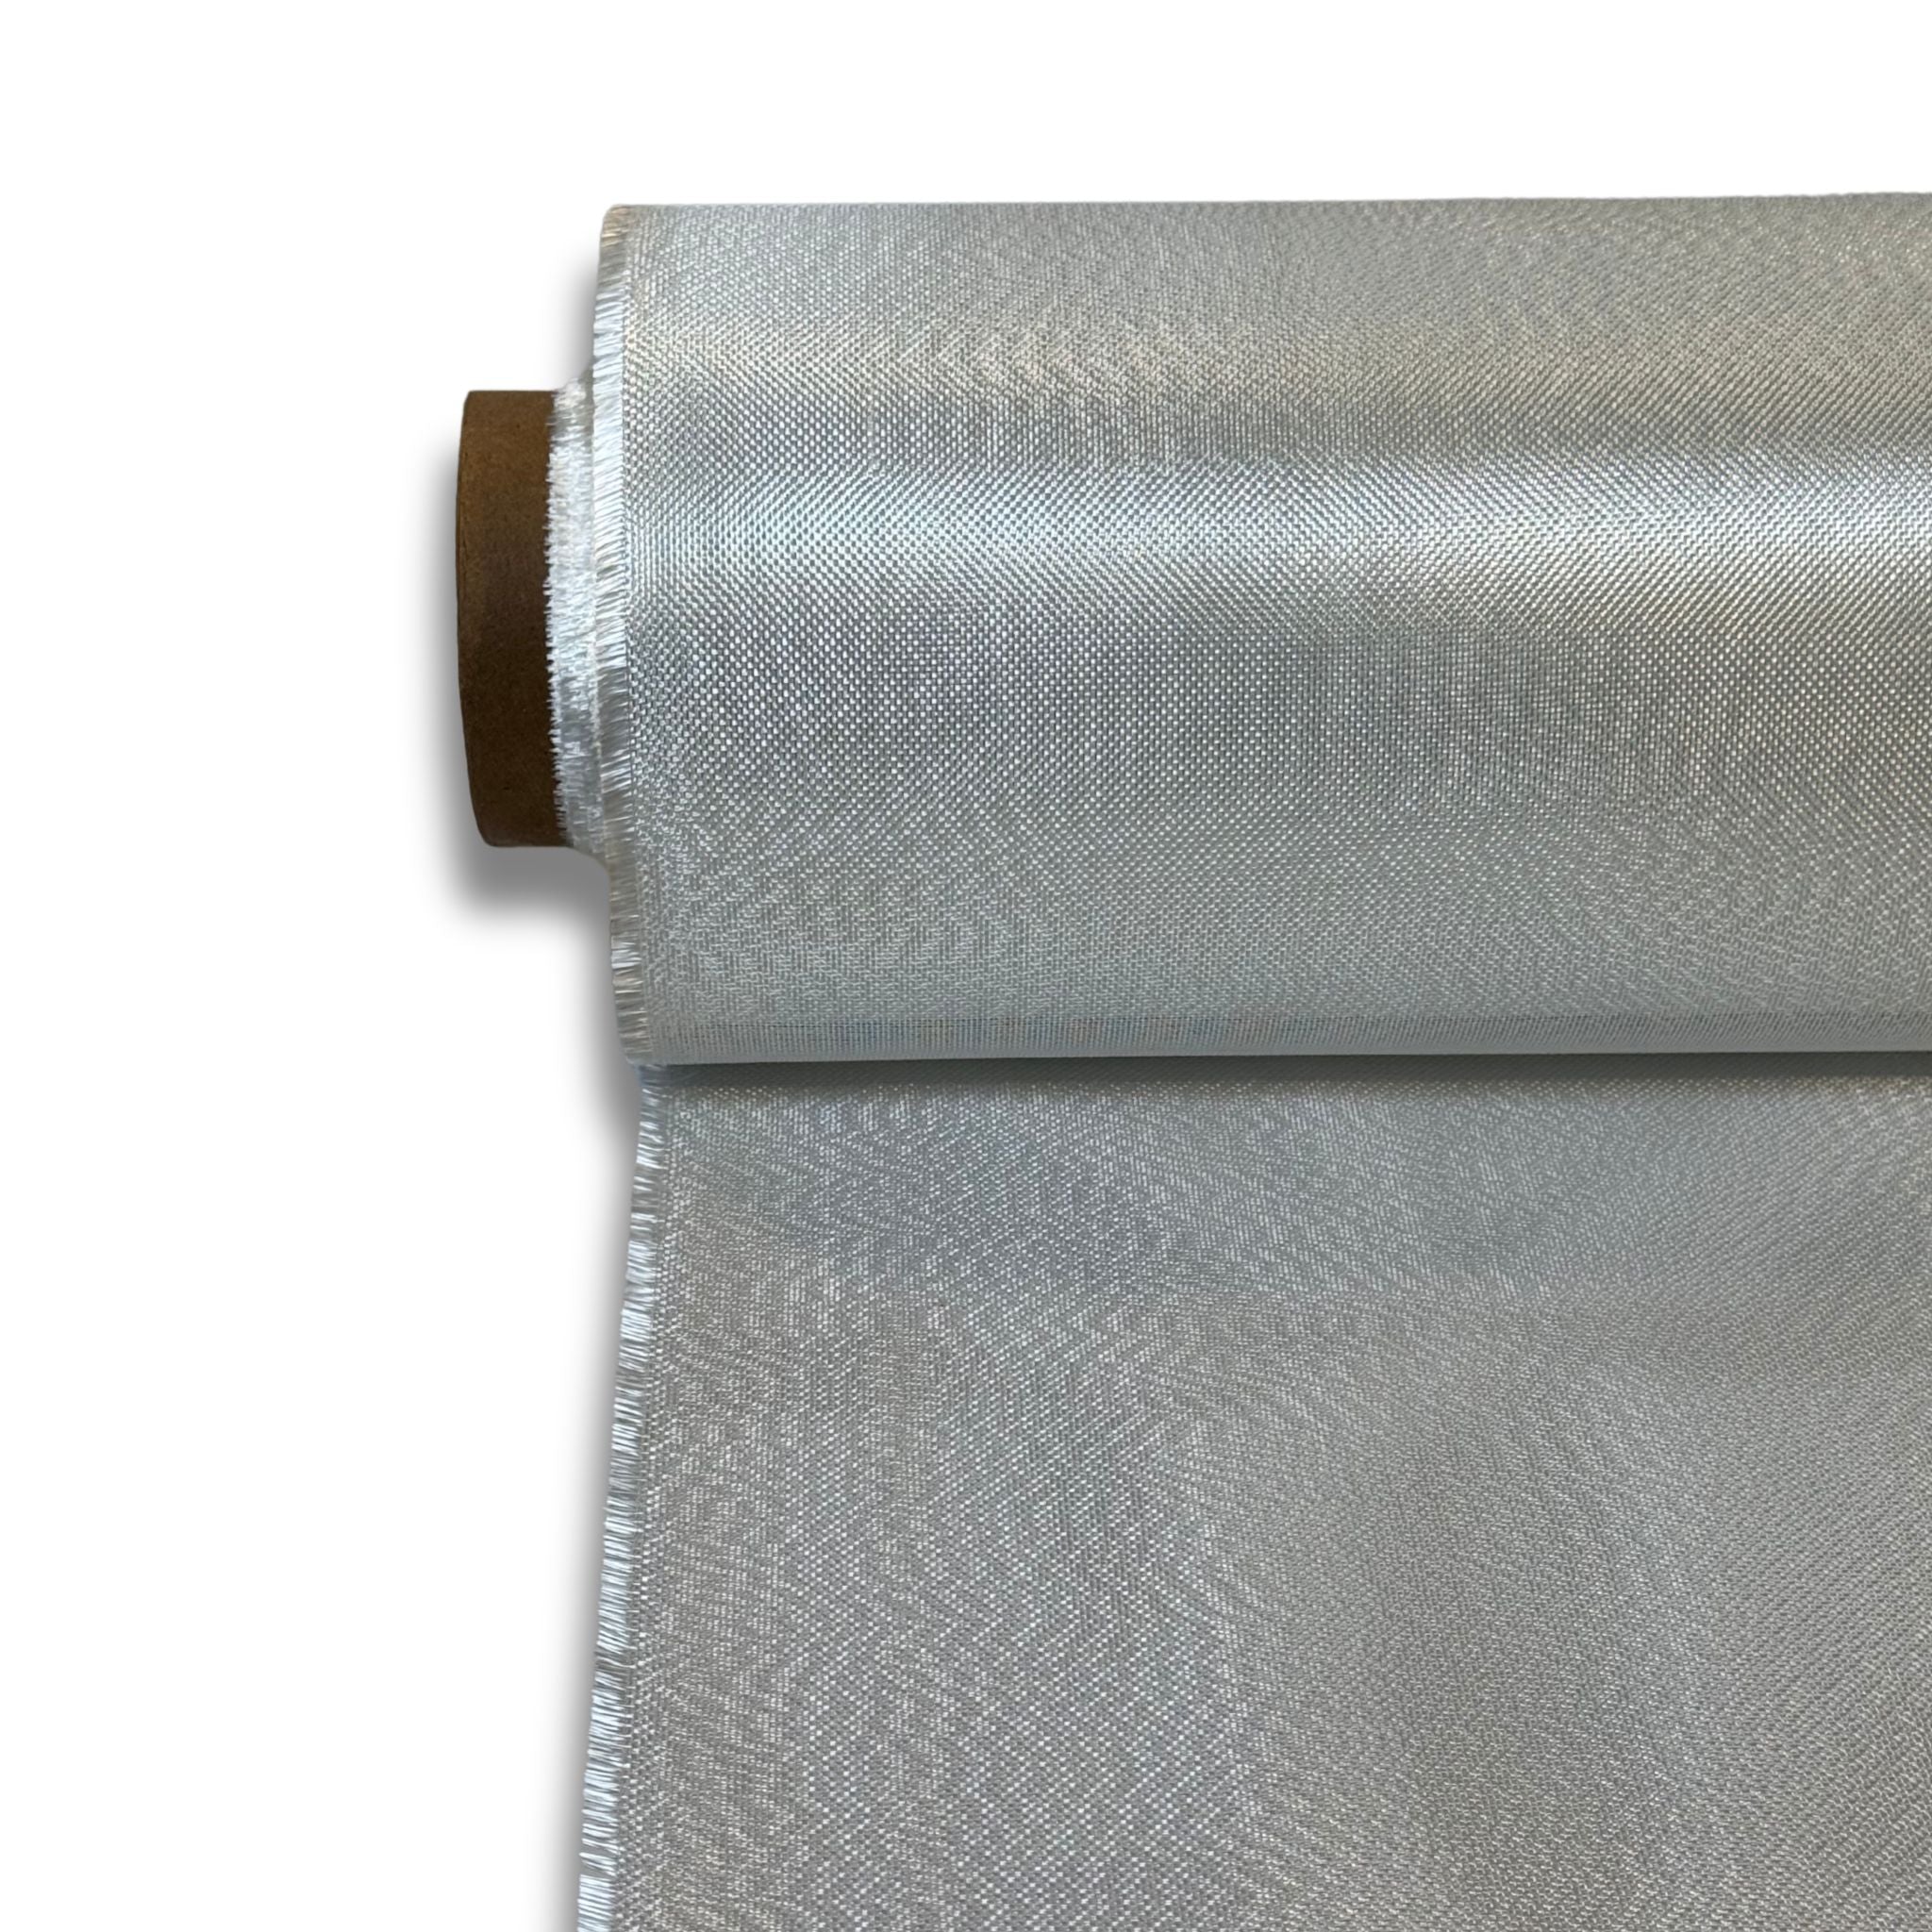
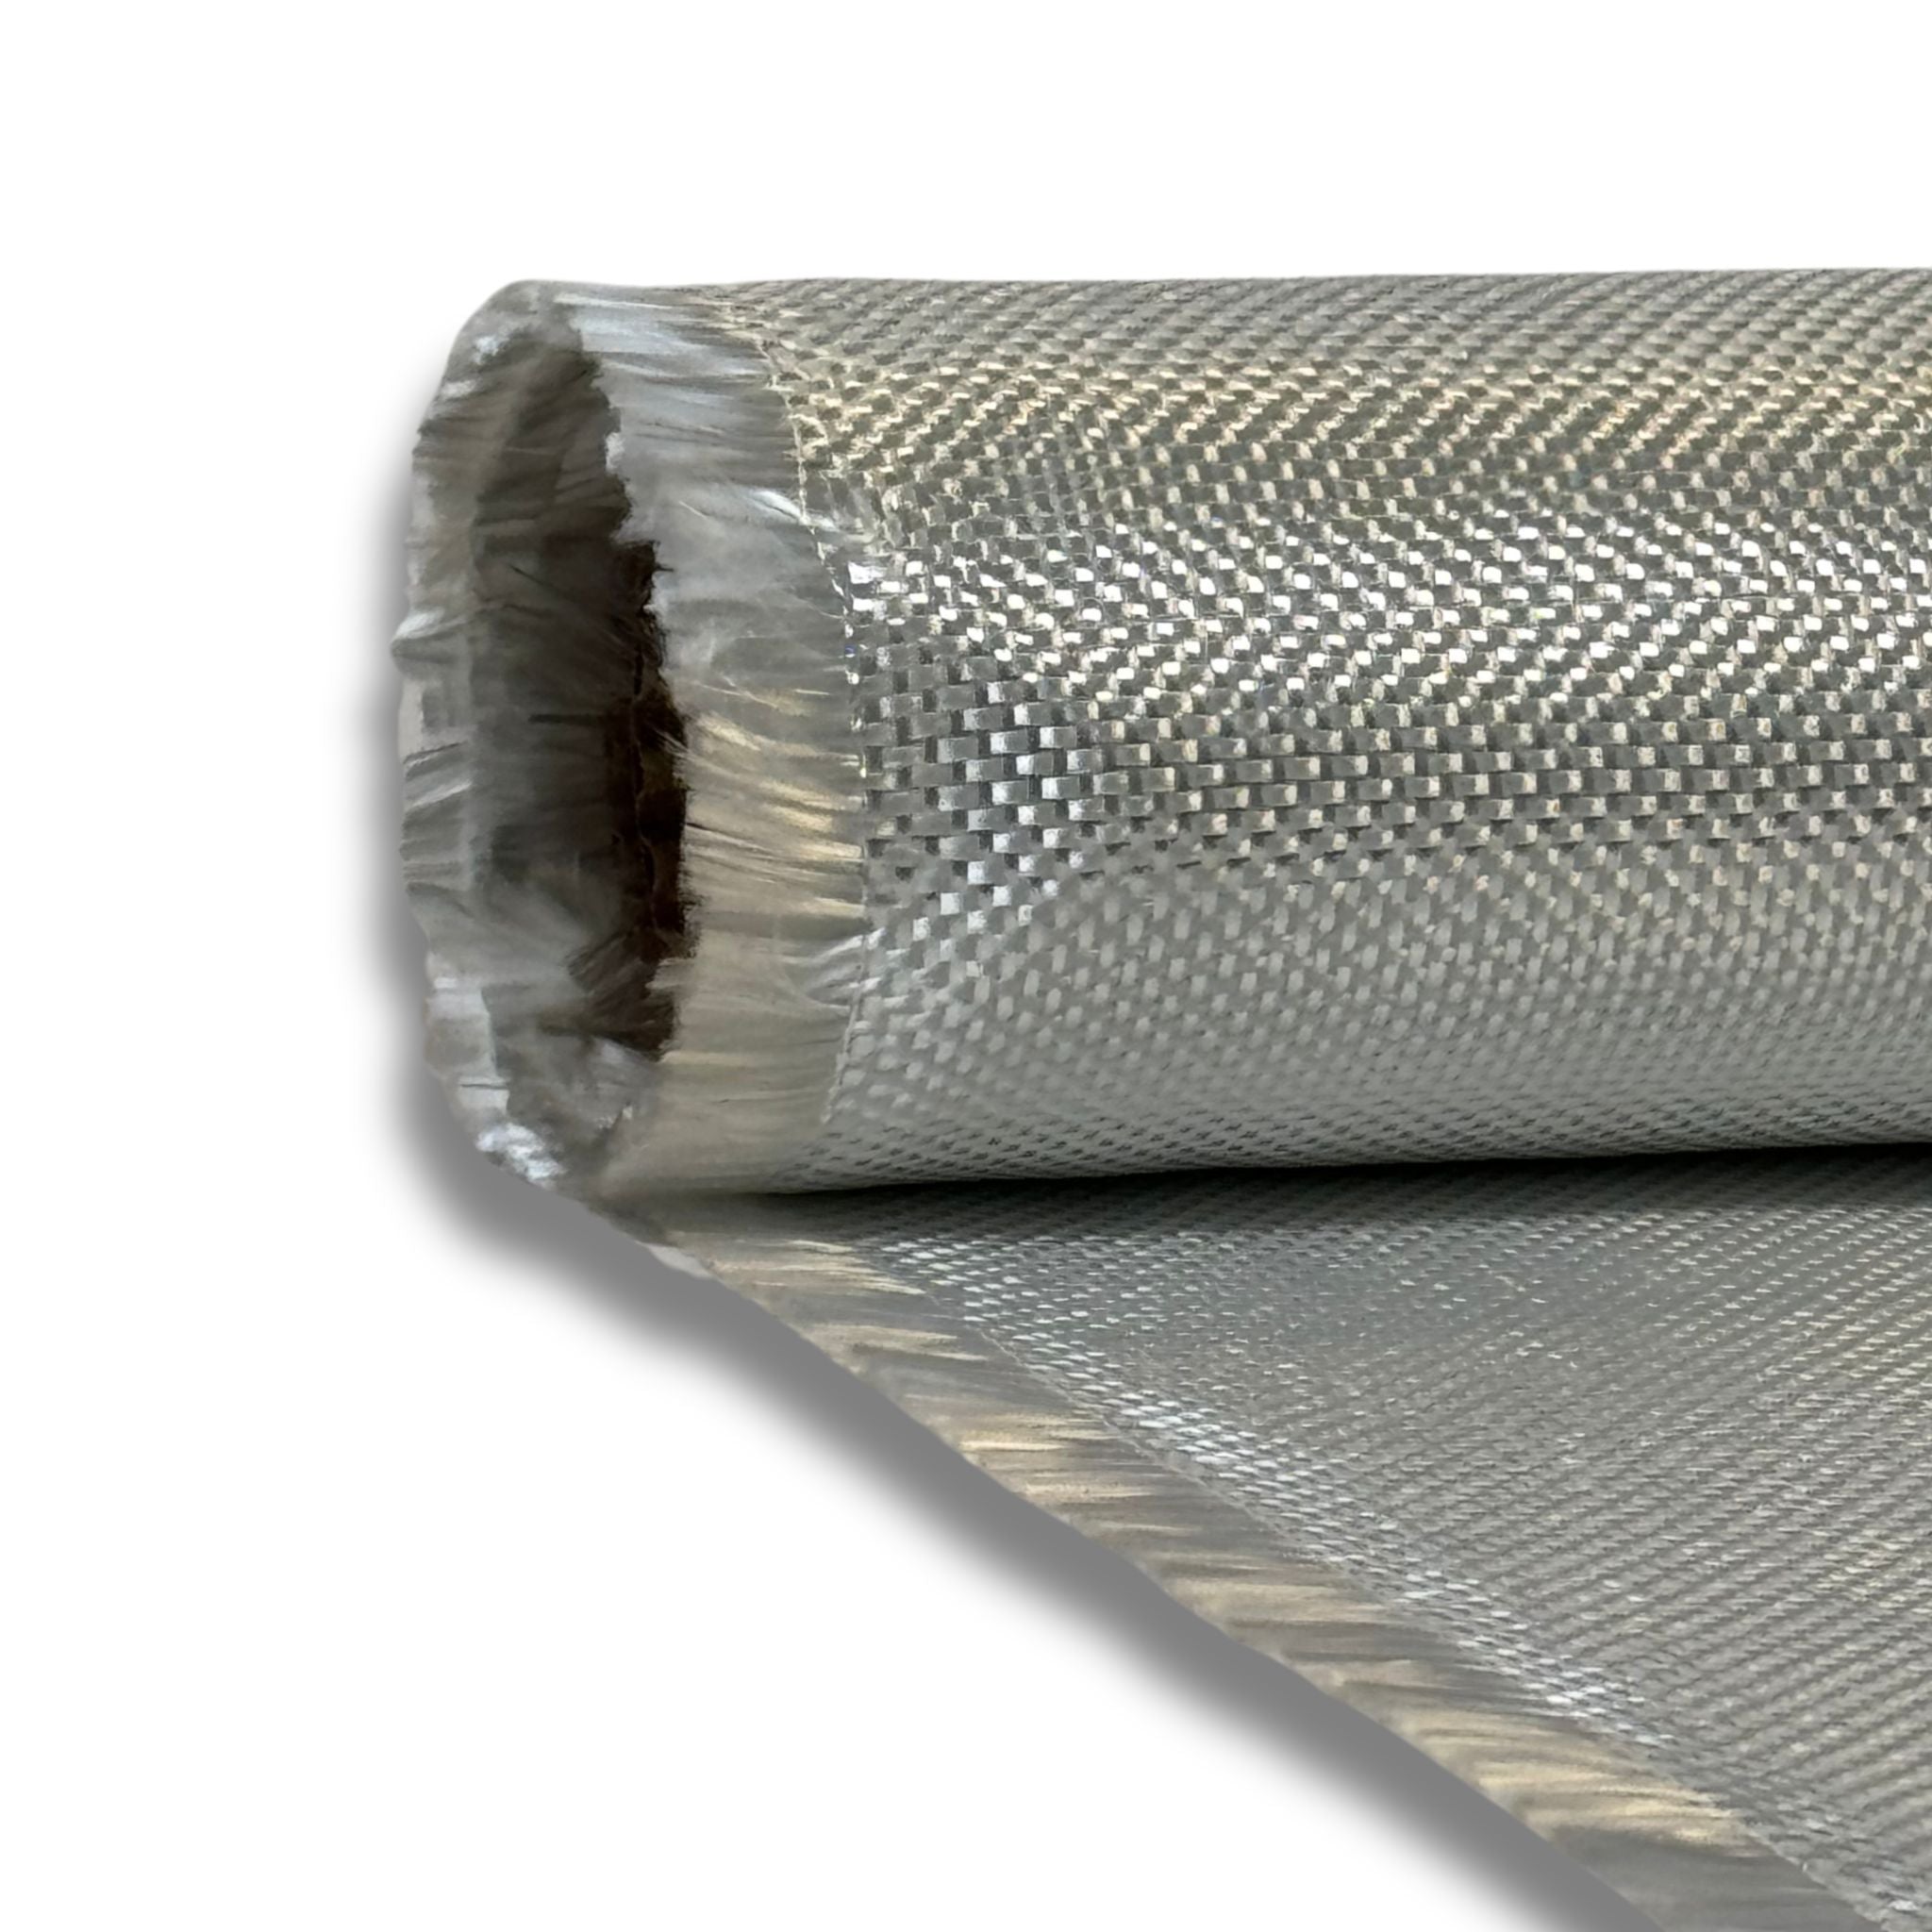
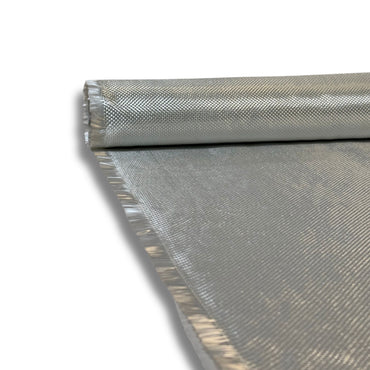
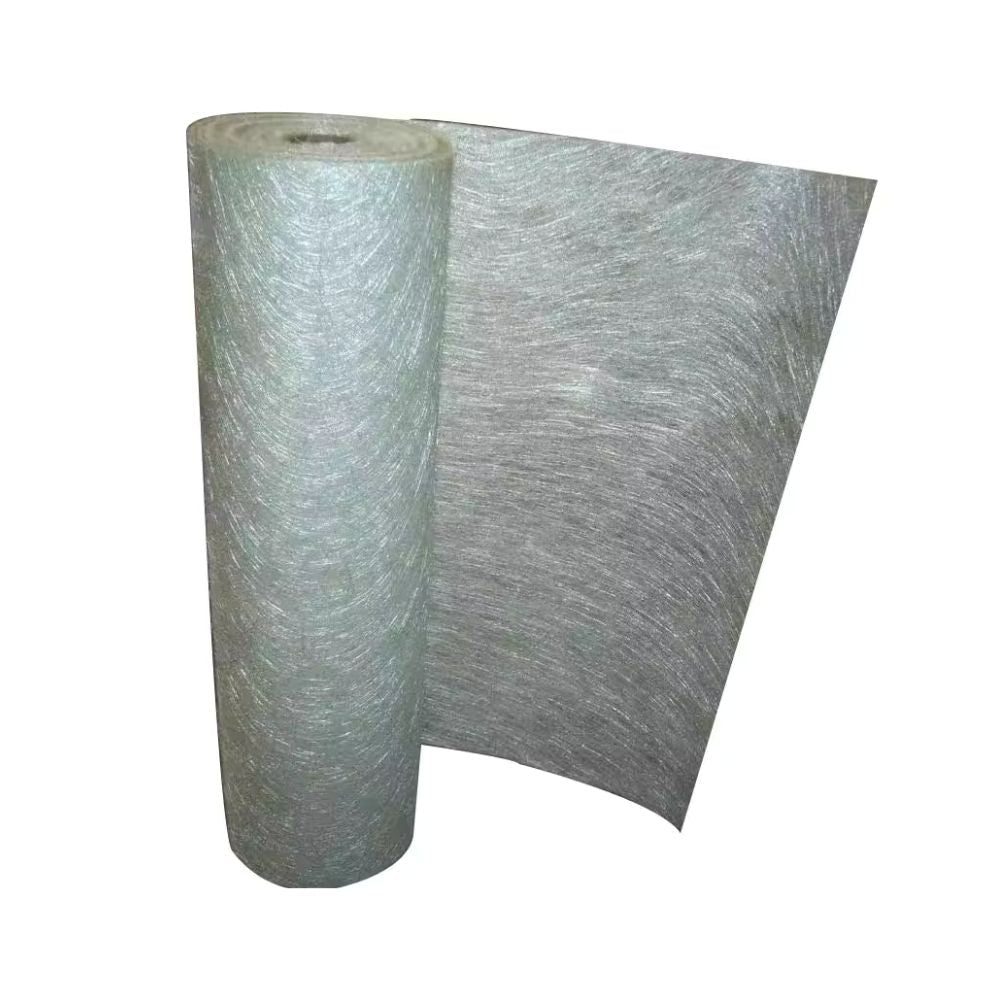
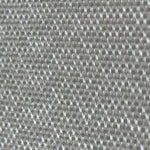
- Fiberglass cloth or mat – Choose between woven cloth for strength or chopped strand mat for bulk.
- Resin – Polyester, vinyl ester, or epoxy, depending on your needs.
- Hardener/Catalyst – Required to initiate resin curing.
- Acetone – For cleaning tools and surfaces.
- Sandpaper (60-120 grit) – For surface preparation and finishing.
- Rollers and Brushes – To apply resin and remove air bubbles.
- Protective Gear – Gloves, respirator, and safety glasses.
Step 2: Prepare the Hull Surface
Proper surface preparation is essential for adhesion:
- Clean the hull – Remove dirt, grease, and old paint using acetone or marine cleaner.
- Sand the surface – Rough up the area with 60-80 grit sandpaper to improve resin bonding.
- Check for damage – Repair any cracks, holes, or weak spots before applying fiberglass.
- Mask off areas – Protect surrounding surfaces with masking tape and plastic sheeting.
Step 3: Cutting and Layering Fiberglass
- Measure and Cut – Pre-cut fiberglass cloth or mat to fit the hull area.
- Dry Fit First – Lay the material on the hull to check for proper placement before applying resin.
- Layering Plan – Use multiple layers, starting with lighter fiberglass and adding thicker layers for reinforcement.
Step 4: Mixing and Applying Resin
- Mix Resin and Hardener – Follow the manufacturer’s ratio for correct curing.
- Apply the First Layer – Brush or roll a thin layer of resin onto the hull.
- Lay Fiberglass Over Resin – Gently place the fiberglass material onto the wet resin.
- Saturate the Fiberglass – Use a roller to evenly distribute resin, ensuring no dry spots.
- Remove Air Bubbles – Roll out any trapped air pockets to avoid weak spots.
- Repeat as Needed – Add multiple layers, letting each partially cure before adding the next.
Step 5: Curing and Finishing
- Allow Full Cure – Follow the recommended curing time for your resin type.
- Sand the Surface – Use 80-120 grit sandpaper for a smooth finish.
- Apply Gelcoat or Paint – Seal and protect the fiberglass with a durable marine coating.
- Final Inspection – Check for imperfections and apply touch-ups if necessary.
Final Thoughts
Properly fiberglassing a boat hull ensures it remains strong, watertight, and resistant to wear for years to come. By following these steps and using high-quality materials, you can achieve a professional and durable finish.
Looking for top-quality materials? We got you covered with fiberglass, resins, and fiberglass tools? Visit our Fiberglass & Carbon
Prev post
How to Fix EPS Epoxy Surfboard
Updated on 30 June 2025
Next post
Understanding Fiberglass Weave Patterns and Their Uses
Updated on 10 April 2025